
Bathroom Drywall in Oakville: What to Keep, Repair or Replace
Updated October 18, 2026
A bathroom renovation does not always require replacing every wall. Learn how existing damage, shower boundaries and the final finish determine the right drywall scope.
- Trusted since 2005
- Fully insured
- Dust-controlled sanding
- Paint-ready finishing
- 3-year workmanship warranty
Quick Answer
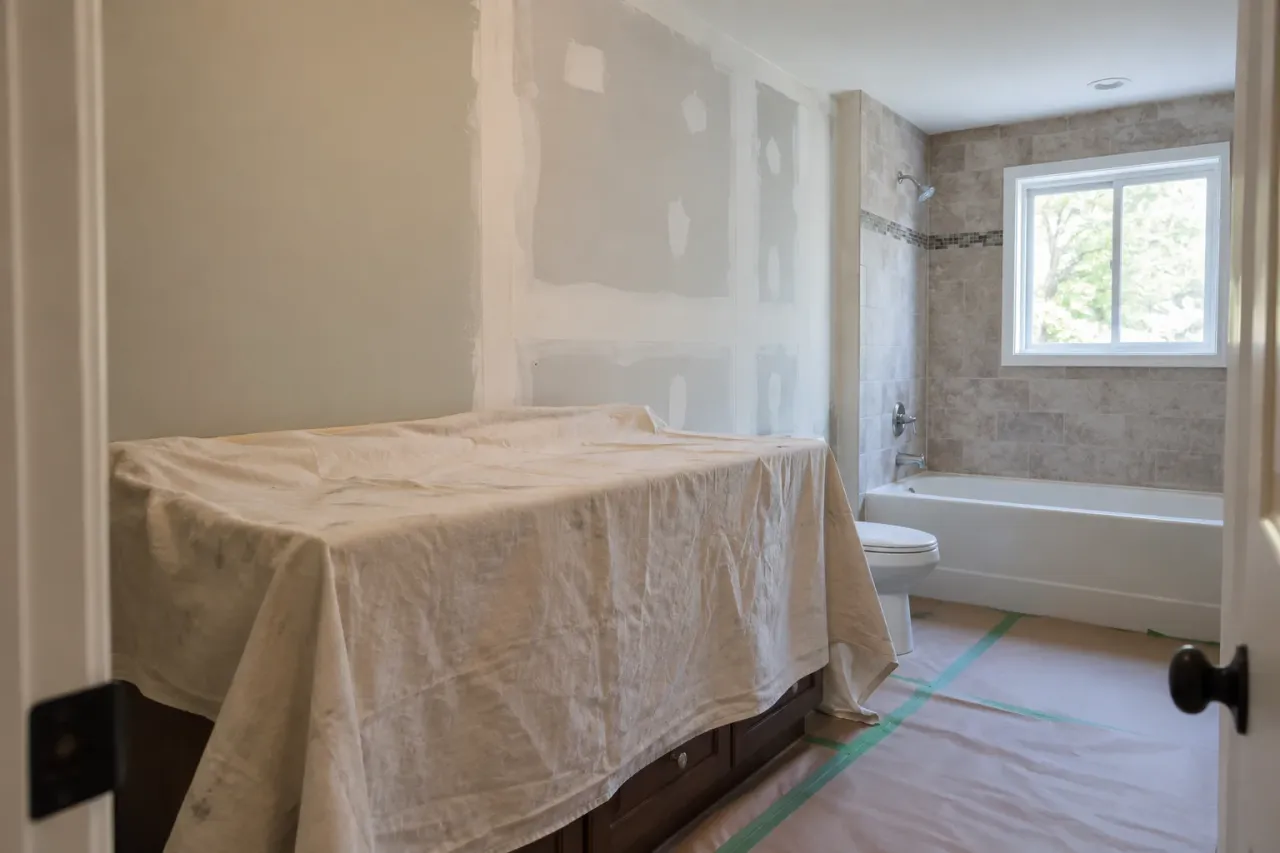
Keep sound, dry drywall where it suits the planned finish. Repair isolated damage outside direct-wet areas when the surrounding board is stable. Replace deteriorated or unsuitable sections after the moisture source has been resolved. Choose shower backing as part of an approved waterproofing assembly; moisture-resistant board alone does not make a shower waterproof.
Bathroom drywall in Oakville should be scoped around what is staying, what is damaged and where water will reach the finished assembly. You may need only a repair behind a removed mirror, replacement board beside a bathtub, or a complete rebuild after a layout change. Buying the same board for every surface before answering those questions can create unnecessary work or leave an unsuitable backing beneath an expensive finish.
At EPF Pro Services, we separate the board and finishing work from the decisions that belong to plumbing, ventilation and shower waterproofing. Our drywall installation and finishing services support a clear renovation scope: suitable backing, sound repairs, straight transitions and the right preparation for the next trade. This guide helps you discuss those decisions before cabinets, tile and paint hide the wall.
Start with the wall you have, not the board colour
| Existing condition | Likely direction | Confirm first |
|---|---|---|
| Firm, dry painted wall with small fixing holes | Local repairs and paint preparation | Future finish and whether damage is isolated |
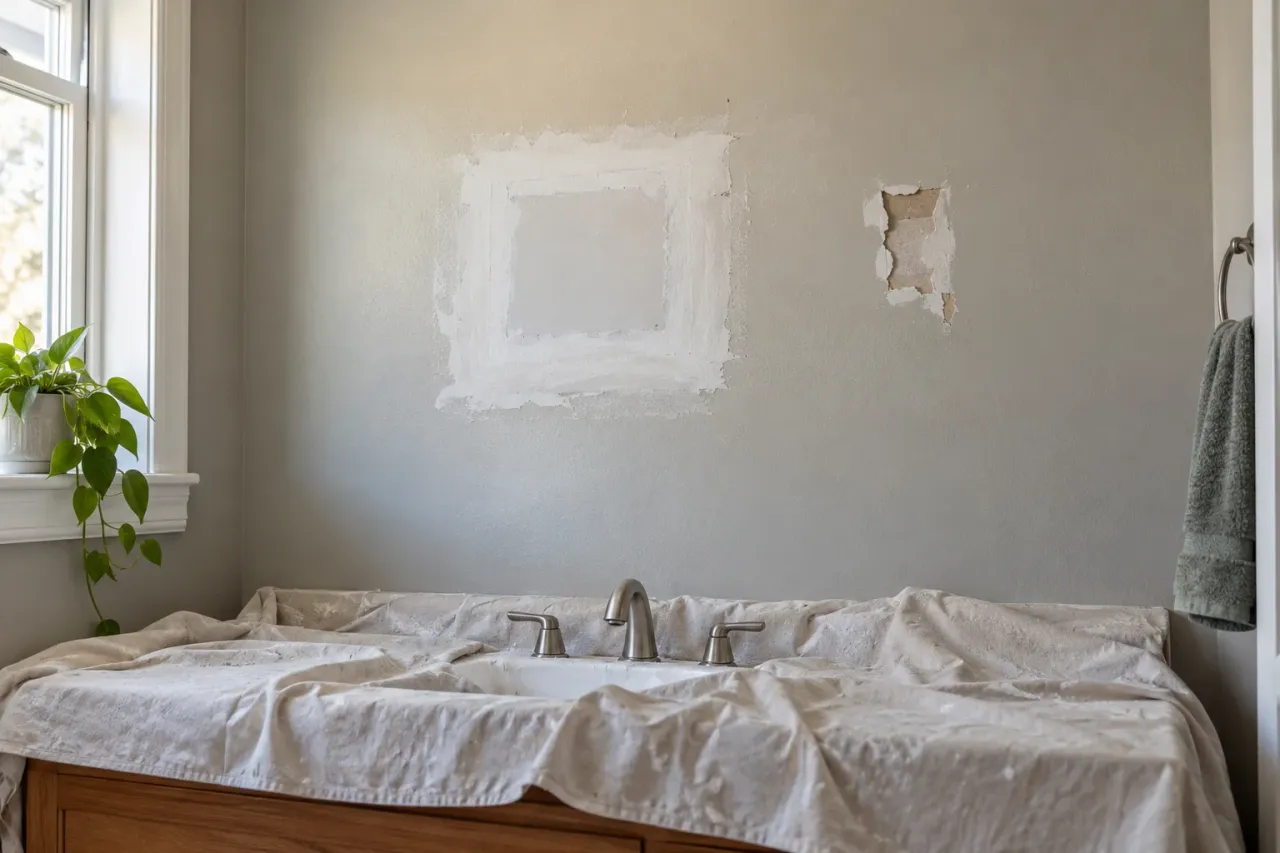
| Torn facing after mirror or backsplash removal | Surface repair or partial replacement | Depth of damage and remaining board strength |
| Soft, swollen, sagging or persistently damp board | Investigate before planning replacement | Moisture source, extent and remediation needs |
| Wall inside a rebuilt shower | Backing specified for the chosen waterproofing system | Complete assembly and installer responsibilities |
| Multiple openings for a changed layout | Compare several patches with replacing a larger section | Framing, fixtures and final wall flatness |
This is a planning table, not a diagnosis from appearance alone. A stain cannot tell you whether a leak is active, and an intact painted face cannot establish the condition behind it. Photos help identify the questions; an inspection establishes the repair boundary. Avoid covering uncertain damage simply because the new vanity will conceal it.
When keeping the existing drywall makes sense
Sound drywall outside the shower can often remain through a bathroom refresh. Replacing a mirror, changing a vanity or updating paint does not automatically require stripping the room to framing. Keeping suitable walls reduces demolition, disposal and the amount of new finishing. It also preserves adjacent trim and surfaces that may otherwise need attention after new sheets are installed.
The important word is suitable. A wall that works well behind paint may need further assessment before receiving a different finish. A new backsplash, heavier wall-mounted cabinet or relocated fixture changes what the surface and its support must provide. Have the relevant installer confirm those requirements before deciding that the old wall can stay exactly as it is.
Look at repair concentration as well as individual hole size. Two isolated fixing holes are straightforward to include in preparation. A wall covered in adhesive damage, abandoned plumbing openings and overlapping old patches may take substantial work to flatten. Ask for the practical difference between repairing those areas and replacing one coherent section; neither option is automatically the cheaper finished result.
A small vanity update versus a layout change
For a vanity replacement in the same position, the discussion may centre on visible side walls, old backsplash edges and mirror adhesive. For a moved vanity, it also includes plumbing access, electrical changes and support for new fixings. These are planning examples, not claims about a completed EPF project. They show why two bathrooms of the same size can need very different drywall scopes.
Before closing an access opening, confirm that the responsible trade has completed its work and any required checks. Photograph the open wall for your own renovation records. New backing should not become an obstacle to finishing an unresolved plumbing or electrical task. Agree on any access panel that needs to remain available rather than discovering the requirement after painting.
When replacement is the more reliable starting point
A repair needs a sound base. Board with a weakened core, widespread delamination or failed edges cannot be restored simply by covering it with compound. The replacement boundary should extend to suitable material and support, with enough room to make a durable connection. The visible mark may be smaller than the area the contractor needs to remove and finish.
Moisture changes the sequence. Fix the source and establish appropriate drying or remediation before enclosure. Health Canada's moisture and mould guidance explains why dampness must be addressed and why hidden or extensive mould may need professional assessment. Painting over affected material is not a substitute for dealing with the cause. Tell your contractor about previous leaks even if the surface currently appears dry.
Do not open suspect materials to investigate them yourself. Uncertain older finishes or textured ceilings may require assessment before disturbance. Where damage involves electrical fixtures, structural movement or contamination, the relevant professional should establish the next steps. A drywall quotation can then describe reinstatement instead of treating an unresolved building problem as a cosmetic patch.
Choose the shower assembly before choosing its backing
The painted part of a bathroom and the inside of a shower do different jobs. For painted areas exposed to normal bathroom humidity, an appropriate moisture-resistant gypsum panel can be part of the specification. Green or purple facing is not enough information: the exact product, intended location, thickness and installation limitations matter. Ask for the product name rather than accepting a colour as the specification.
Inside the shower, the decision is about the complete water-management assembly. Schluter's explanation of tiled shower waterproofing distinguishes water-resistant cement backer from a waterproof system. A board that tolerates water is not, by itself, a completed waterproof shower. Corners, penetrations and connections to the base must be resolved within the chosen system.
It is also inaccurate to say that gypsum board can never be used behind a shower membrane. Schluter specifically permits drywall beneath KERDI in its tiled shower system. That permission belongs to that assembly and its instructions; it is not permission to tile directly onto ordinary drywall or substitute another membrane. Have the installer verify the current product instructions and applicable local requirements for your project.
Put the handoff between trades in writing
Your quotation should identify who supplies and installs the backing, who accepts its condition, and who completes waterproofing and tile preparation. Confirm whether the shower installer wants particular joint treatment before taking over. The preparation used on a painted wall should not be assumed suitable beneath every waterproofing product. A short coordination discussion can prevent finished work from needing to be removed.
Ask who checks the assembly before it disappears behind tile and what records will be provided. Keep product names and relevant installation documentation with the renovation paperwork. This does not require you to design a shower yourself. It gives each trade a clear boundary and makes it easier to resolve questions while the surfaces are still accessible.
Plan the edge between tile and painted drywall
The outer shower edge deserves attention before either trade finishes it. Different board thicknesses, framing alignment and the selected tile assembly can affect where the final surfaces meet. A raised edge beside a flat painted wall can become conspicuous under vanity lighting. A straight-looking board face is only one part of that transition.
Confirm the intended tile termination, edge trim and extent of waterproofing with the tile installer. Then establish the painted drywall boundary. Avoid planning a repair joint exactly where there is no practical room to finish it. Where a glass enclosure or accessories will attach, coordinate backing and installation requirements before closing the wall rather than relying on a later patch around the fixing.
The same approach helps around a tub flange, niche or recessed cabinet: establish the approved detail and responsibilities first. These are not locations for improvised mixtures of leftover materials. If the layout changes after boarding, revisit the detail before coating begins. It is easier to adjust the scope at this stage than after a visible edge has been painted.
Treat the bathroom ceiling as its own scope
A bathroom ceiling can have a different problem from the walls. Peeling paint, an old fan opening, loose tape and a stain each need assessment. New wallboard around the vanity will not correct a ceiling defect, and a ceiling repaint will not resolve a leak above it. Include a wide ceiling photo and a close view of each problem when requesting an estimate.
Where the board is sound, preparation may involve local repairs, stabilizing damaged facing, suitable primer and compatible finish paint. Where the board is deteriorated, replacement may be needed before refinishing. Specify ceiling-rated products and support requirements for the selected assembly. A steam shower needs its own system design; do not treat it as an ordinary bathroom with extra moisture-resistant paint.
Ventilation questions belong in the planning conversation too. If moisture repeatedly collects on the ceiling, have the ventilation and moisture sources assessed instead of assuming that a different coating will solve everything. Keep fan and light work coordinated with the appropriate trades. Confirm fixture locations before finishing so the fresh ceiling does not immediately need another access repair.
Finish painted walls for the lighting they will actually have
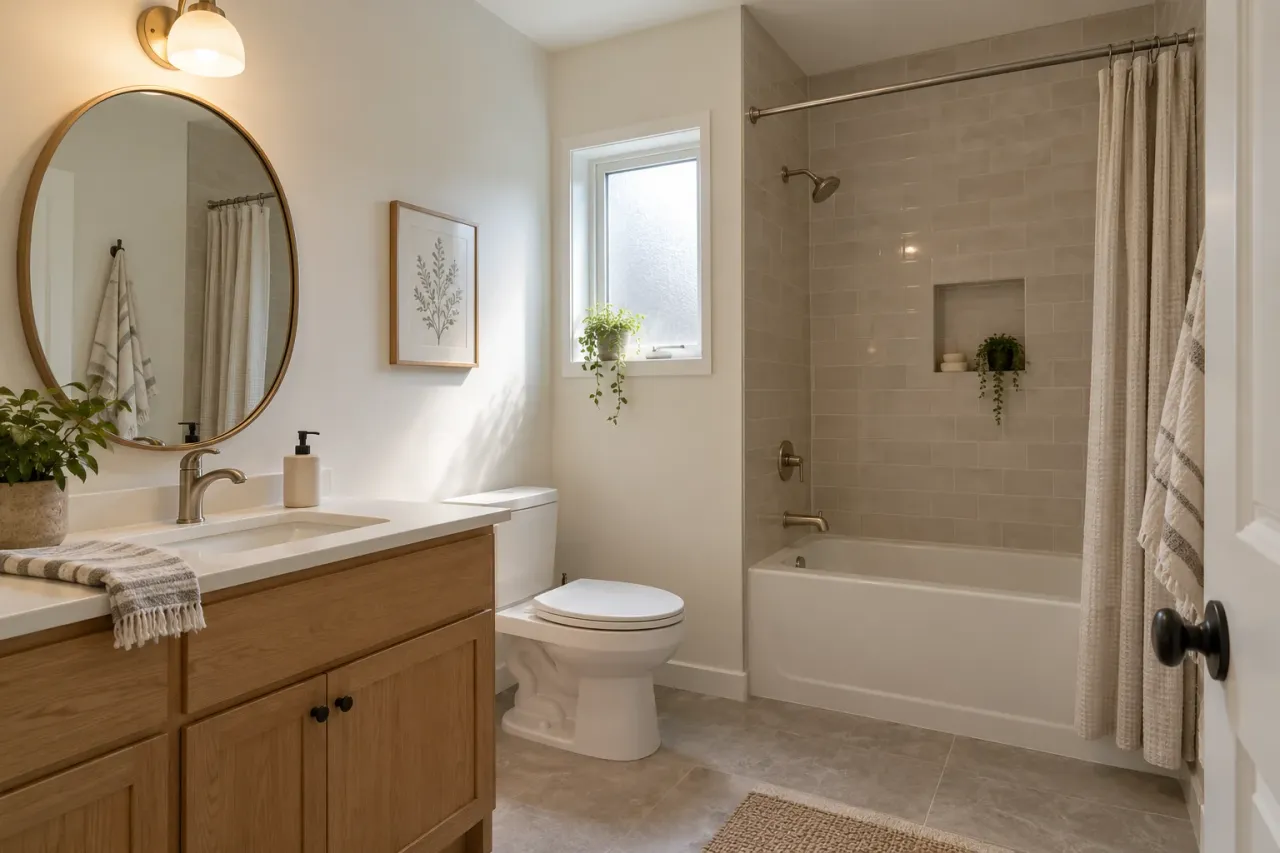
Bathroom lighting can make a narrow repair surprisingly visible. A mirror light close to the wall or daylight across a vanity may reveal a ridge that was hard to see under a temporary overhead lamp. Finish expectations should be discussed with the planned fixtures and paint sheen in mind. The goal is a consistent surface under normal finished-room viewing conditions.
A local patch needs feathered edges and suitable priming, not just a filled centre. Broadly damaged facing may justify wider preparation. Our guide to why drywall patches remain visible after painting explains the difference between surface shape and uneven absorption. More paint alone cannot reliably conceal a raised repair edge or an unprepared substrate.
Level 5 finishing is an appearance specification, not moisture protection. It can be useful on demanding painted surfaces, but it is not automatically necessary throughout a small bathroom. Ask which areas need extra refinement and why. Keep shower-system preparation separate from the finish specification for the painted walls so you are paying for work that serves the final surface.
Schedule the work around dependencies and drying
The useful timeline is more detailed than the number of days needed to hang board. Start with investigation or demolition where required, then completion of work inside the wall, backing installation, the agreed finishing stages and each trade's handoff. The shower and painted walls may progress differently. Make sure the schedule states when the bathroom can actually return to use.
Compounds, primers, paints and waterproofing products have their own conditions and waiting requirements. A quiet day between visits is not necessarily a scheduling problem; the material may need time before the next operation. Our drywall repair drying guide explains why appearance alone is an unreliable basis for rushing the painted finish. Follow the selected products rather than a universal drying promise.
For a home with one bathroom, decide what will remain usable during each stage before work starts. Protection, stored materials and wet coatings can affect access even when plumbing remains connected. Do not assume the shower can be used just because the drywall crew has left. The responsible installer should confirm readiness after the complete shower assembly and required waiting periods are finished.
What to include in an Oakville bathroom drywall quote
For drywall installation in Oakville, describe the surfaces and end condition rather than asking only for a price per sheet. A small room can have many corners, penetrations and short returns. Protection, access and repeat visits still take time. An accurate quote explains those tasks and identifies uncertainties that cannot be settled from initial photographs.
If the work is mostly localized damage, Oakville drywall repair may be the better starting point. Ask whether the proposed scope includes backing, tape, compound, sanding, primer and painting, and where the repaint will stop. A repaired patch and a fully repainted wall are different deliverables. Make that distinction before comparing totals from different contractors.
For an Oakville condo, confirm your building's actual work hours, elevator arrangements, material access and renovation approval process with management. Requirements vary by building; a city name does not establish them. For a house, describe parking, stairs, the route to the bathroom and finished surfaces along the way. These details help plan protection without inventing neighbourhood-based assumptions about your home.
- Identify every wall and ceiling surface included, preferably on annotated photos.
- State what stays, what is removed and which fixtures are moving.
- Disclose leak history and any assessment or remediation already completed.
- Name the shower system and the trade responsible for waterproofing.
- Confirm protection, debris handling, dust-controlled sanding and cleanup.
- Identify priming, painting, trim work and excluded tasks.
- Agree how newly discovered damage will be documented and priced before extra work begins.
Send the details that make an estimate useful
Photograph the room from the doorway, then each wall, the ceiling and the shower boundary. Add close-ups of damaged facing, staining, old adhesive and access openings without disturbing uncertain materials. Include approximate room dimensions, ceiling height and the age of the finishes if known. Photos of the intended vanity or tile layout help explain which surfaces will remain visible.
Tell us whether you need repairs before painting or new board installed as part of a larger renovation. EPF can then discuss the drywall and finishing scope, coordinate its boundaries with other trades and identify what needs inspection. Send your bathroom photos for an EPF quote so the estimate reflects the room you are renovating and the finish you want to see every day.
FAQ
Does every bathroom wall need moisture-resistant drywall?
Specify each surface according to its exposure, final finish and product requirements. Moisture-resistant board can suit painted bathroom areas, but the shower backing must belong to the selected approved waterproofing assembly. Board colour alone does not establish suitability.
Can drywall behind a removed bathroom mirror be repaired?
Often, if the board is dry and stable and the damage is limited to the surface. Extensive torn facing, weakened material or many overlapping repairs may make partial replacement more practical. Have the damage assessed before covering it.
Is cement board enough to waterproof a shower?
No. Water-resistant backing alone is not a complete waterproof shower. The specified assembly must address seams, corners, penetrations and connections to the base according to its instructions.
Can a waterproof membrane go over ordinary drywall?
Some specific systems permit this, including Schluter KERDI in its tiled shower assembly. That approval cannot be transferred to every membrane. The installer must verify the current instructions and applicable project requirements.
Should stained bathroom drywall always be replaced?
A stain alone does not decide the scope. First establish the moisture source and material condition. Sound, dry material may be repairable; deteriorated board or contamination can require removal and appropriate remediation before reinstatement.
Does Level 5 finishing protect bathroom walls from moisture?
No. Level 5 addresses the appearance of a painted surface. It does not replace suitable board, ventilation, primer, paint or the required shower waterproofing system.
Drywall service pages and guides
Plan the Right Drywall Service Next
Bathroom drywall materials and finishing
Compare backing requirements, painted surfaces and trade handoffs.
Drywall installation and finishing
Plan suitable backing and the finish required for your renovation.
Oakville drywall installation
Discuss local access, replacement areas and handoffs between trades.
Repainting after drywall repair
Decide whether a local touch-up or wider repaint makes sense.
Field Photos
Bathroom planning and drywall finishing details
Article Review
AuthorEPF Pro Services
Reviewed byEPF Pro Services
UpdatedOctober 18, 2026
Plan your drywall scope
Get a drywall quote today
Share photos, room sizes, and timing. We reply the same day with Oakville drywall availability and a clearer written scope.
Quick next step