
Toronto Condo Bathroom Drywall: Plan Access, Trades and Finishing
Updated October 18, 2026
A compact condo bathroom needs a clear work plan beyond its floor area. Coordinate the building, household and trade handoffs before closing and finishing walls.
- Trusted since 2005
- Fully insured
- Dust-controlled sanding
- Paint-ready finishing
- 3-year workmanship warranty
Quick Answer
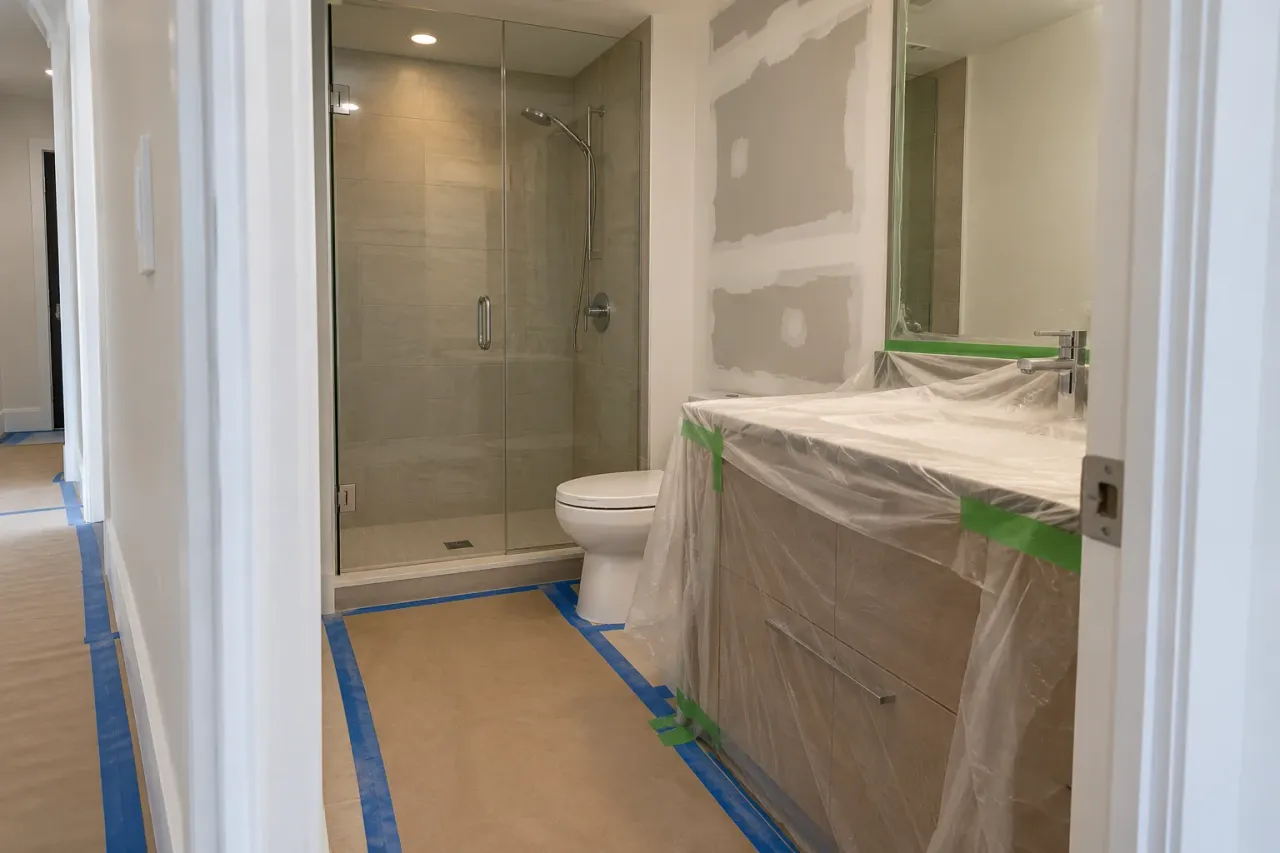
For a Toronto condo bathroom, confirm the building-specific renovation process and access arrangements before fixing the work schedule. Define the drywall boundaries, complete relevant work inside the wall, coordinate shower backing with its installer, and allow for finishing visits and room release. Do not assume all condo buildings use the same rules.
Condo bathroom drywall in Toronto needs a plan for the room and for getting work done inside the building. Confirm the renovation process, deliveries, access and trade responsibilities before fixing a start date. A compact bathroom can involve repeated visits, several finish boundaries and very little space for equipment. Floor area alone does not describe the coordination required.
EPF Pro Services handles drywall installation and finishing as part of a defined renovation scope. This guide is for Toronto condo owners planning bathroom walls or ceilings, whether the work involves new backing or repairs around retained fixtures. Before requesting a work date, gather the building’s renovation instructions and the details of the proposed work. Give the contractor the confirmed delivery arrangements, room dimensions and fixture plan so the schedule reflects the actual unit.
Confirm four things before booking the drywall date
| Planning item | Who can clarify it | Why it affects drywall |
|---|---|---|
| Building renovation arrangements | Management and the relevant governing documents | Access, scheduling and project requirements |
| Fixture and shower layout | Owner and responsible installers | Backing, openings and finish boundaries |
| Work behind the surface | Relevant qualified trades | Whether the wall is ready to close |
| Final finish and room release | Drywall, painting and other responsible trades | Visits, repaint limits and household use |
Keep the answers in one shared project note. A contractor cannot plan around an elevator booking that has not been confirmed or a fixture location that keeps changing between messages. The note need not be elaborate. It should state what is settled, who owns each remaining question and what must happen before the next trade can work productively.
Start with your building's actual renovation process
The Condominium Authority of Ontario's renovation guidance explains that owners generally need to seek approval and may also need municipal approval. Check the applicable process with management rather than treating another owner’s experience as permission for your project. The building's documents and the scope being proposed matter.
Describe the planned work clearly when asking what is required. Repainting, changing a fixture and opening a wall are different activities. Give management the proposed surfaces, changes and responsible contractors so it can respond to the actual project. Keep the resulting information with the renovation plan and pass relevant requirements to the trades before they commit to dates.
Do not turn a building-specific answer into a claim that every Toronto condo follows the same process. Work hours, access arrangements and documentation can differ. This guide provides questions to organize the conversation; it does not grant permission or interpret your corporation's documents. Resolve uncertain requirements with the appropriate party before using the drywall schedule as a reason to proceed.
Define the bathroom work in plain language
List what stays and what changes: vanity, mirror, tile, tub or shower, toilet, ceiling and trim. Explain whether the walls will be repaired around existing items or opened for a broader renovation. Include the intended dimensions of replacement fixtures. This gives the contractor a clearer picture than phrases such as update the bathroom or fix the walls.
Identify the surface that should be visible at completion. A smaller mirror may expose adhesive marks, and a new vanity can reveal old holes or an unfinished edge. A changed light may make surface irregularities more apparent. Give the drywall contractor the final arrangement so the preparation covers the areas the homeowner will actually see, not just the wall exposed on the inspection day.
Mark the boundaries on photographs. Show the shower edge, retained tile and any wall or ceiling opening associated with another trade. Ask each contractor to confirm its area. A small bathroom can still contain several different endpoints: backing accepted by a shower installer, a primed painted wall and a ceiling awaiting another fixture. Naming them prevents omissions between quotes.
Coordinate the route from delivery to the unit
Confirm how material deliveries reach the unit, including any booking or protection arrangements required by the building. Provide the contractor with the actual route and dimensions where access is constrained. Large sheets and equipment may need a plan for tight turns or small openings. Handling decisions should be made before delivery, with their effect on joints and finishing understood.
Agree where materials can be placed without obstructing the unit or shared routes. A compact condo may have limited storage near the bathroom. Decide which furniture or belongings need to move and what can remain protected. This is part of making the work practical, not simply an administrative detail to settle after the crew arrives.
Ask how removed material will leave the unit and what cleanup applies along the agreed route. The contractor's plan should fit the building's confirmed arrangements. Avoid assuming a disposal location or delivery window from another project. A clear plan makes it easier for both management and the crew to understand what is expected without improvising during active work.
Treat the work room and living space separately
A bathroom can be small while its working route extends through much of a condo. Identify the entrance, hallway and nearby living area that the crew will use. Discuss protection and the household's needs before work begins. A home office beside the bathroom may still be affected by ordinary work noise and equipment movement even when it sits outside the room itself.
Move daily essentials before protection goes up. Toiletries, towels, medicines and cleaning items should not require repeated entry into the work zone. If the bathroom must remain partly available between stages, agree exactly what that means. Connected water or a closed door alone does not establish that the room is suitable for normal use during preparation and finishing.
Explain access needs for everyone in the household. The plan should not depend on residents moving equipment, stepping around overhead work or removing protection to get through. For a unit with one bathroom, discuss alternate arrangements early. Build them around the complete sequence rather than only the day the drywall sheets are installed.
Complete work inside the wall before closing it
The relevant trades should confirm their work and any required checks before the wall is enclosed. Ask who provides that handoff and what information the drywaller needs. A partly completed task can look ready from the doorway, especially when several contractors visit on different days. A written confirmation is more useful than assuming that an empty room means everything behind the wall is complete.
Keep fixture positions and support requirements in the shared plan. A wall-mounted cabinet or accessory may affect backing, and a recessed item changes the opening. The drywaller should receive confirmed product information. If an item changes after enclosure, discuss the effect on the repair scope rather than treating the resulting access cut as part of the original finished work automatically.
Do not alter an uncertain wall or ceiling assembly without resolving its requirements. The relevant qualified professional should establish what must be preserved. The finishing contractor's scope follows that decision; it should not be expected to infer all hidden performance requirements from the visible board. Keep approval of the assembly separate from inspection of its final painted appearance.
Set the shower handoff before the first finish coat
The shower installer should confirm the selected assembly's backing and preparation. Do not assume that a board described as moisture-resistant is enough information. Our bathroom drywall materials guide explains the difference between suitable backing and a complete water-management system. The general lesson is to choose the assembly before treating its board as a standalone purchase.
Agree where the tile will stop and how it meets the painted wall. A compact bathroom may leave very little painted surface beside the shower, making the transition especially noticeable. Board alignment, final thickness and edge treatment need coordination before the finisher completes the adjacent area. A narrow remaining strip can be difficult to correct after tile or glass is installed.
If one contractor handles several parts, the boundaries still deserve a written description. Identify what is included in waterproofing, tiling, drywall preparation and painting. If separate contractors are involved, ask who accepts the surface at each handoff. The goal is a clear finished room, not a series of individual tasks that leave a gap nobody priced.
Plan repair boundaries around retained fixtures
Keeping a vanity or tiled surround can reduce the renovation scope, but it also constrains access. Tell the contractor what must remain in place. A repair behind a mirror differs from a replacement panel extending to the floor, and each may need different room access. Ask whether removal by another trade is required before the drywall work can be completed properly.
Existing material needs to be assessed, especially where old adhesive, overlapping patches or damage is visible. A sound painted wall may be repairable. Weak or unsuitable material may need a different approach. For a more detailed discussion, the bathroom repair-versus-replacement guide explains how retained surfaces affect the decision without assuming every room should be stripped.
Make room in the quote for the finishing area around a replacement. The new board itself is only part of the visible work. Feathering may extend onto the retained wall, and repainting may extend farther still. Specify these boundaries before comparing prices so a narrowly defined patch is not mistaken for a fully finished and uniformly painted surface.
Schedule repeated visits realistically
Condo access arrangements and finishing stages need to work together. Board installation, joint treatment, drying, sanding and primer checks may require different visits. Confirm how those visits fit the building's actual arrangements. Do not compress the sequence into one promised day merely because the room is compact or because booking access takes effort.
Materials must be ready for the next stage. A wall that appears dry from a distance may still need time according to the products and conditions. Discuss how room use and ventilation will be handled during the work. The drywall drying guide provides more context for that conversation without giving a single drying duration for every repair.
Keep a contact point for changes. If another trade is delayed, tell the drywall contractor before the next visit rather than letting the crew discover an incomplete handoff on arrival. If access changes, update the plan. Clear communication cannot eliminate every delay, but it can prevent avoidable repeat setup and help the household understand when the bathroom will be available.
Agree on paint preparation and final lighting
The final mirror light can make an uneven repair stand out. Discuss its position and the selected sheen before finishing. A consistent painted result depends on the wall plane, prepared texture and coating system, not just the colour. Inspect the prepared area under representative lighting where practical so corrections happen before the last trade leaves.
Ask whether primer and paint are included in the drywall quotation. If a separate painter takes over, identify the expected surface condition and who handles minor corrections revealed by primer. Do not let the phrase paint-ready conceal different expectations. A useful handoff says what has been completed and what the painter should reasonably expect to do next.
The repaint boundary also matters in a small room. A touch-up may not blend with an aged or different-sheen coating even when the patch is sound. Decide whether the wall or ceiling will be painted to a natural stopping point. Document the agreed result so the final walkthrough compares the completed work with the actual scope rather than an assumption.
Compare Toronto condo quotes by responsibility
EPF's Toronto drywall contractor page connects this planning guide to the local service scope. When requesting a quote, separate installed backing, repairs, joint finishing, primer, painting and cleanup. Include the building arrangements and retained fixtures so the contractor can account for the real work conditions instead of pricing an empty room with unrestricted access.
Clarify which tasks are supplied by others and what happens if their work is not ready. Ask how extra repairs or a changed fixture layout would be priced. A transparent change process is more useful than a vague allowance that does not identify what it covers. Photos and written boundaries make those discussions easier to resolve while the work remains visible.
Avoid judging a quote only by bathroom floor area. Many small edges, a difficult delivery path or repeated protection can affect labour. Conversely, a carefully retained room may need only localized work. The estimate should explain the tasks that apply to your unit. Neither a city label nor the fact that it is a condo establishes the same price or duration for every project.
Close the project with a clear room handover
Walk through the agreed surfaces, transitions and openings at completion. Confirm repaint limits, cleanup and any remaining work assigned to another installer. Review the room under its normal lights where possible. A list of specific outstanding items is easier to act on than a general statement that the bathroom does not look finished yet.
Retain the useful product information, photographs and building correspondence. These records help explain what was changed and which work belongs to each trade. Keep instructions for normal use and coating care with the room's finish information. The completed drywall stage should be documented accurately without implying that it certifies unrelated plumbing, electrical or shower-system work.
To start, send EPF your Toronto condo bathroom details with photographs and the confirmed access arrangements. We can discuss a drywall scope that fits the unit, the retained finishes and the other trades' work. A complete plan makes the renovation easier to price and gives you a practical basis for checking the finished room.
FAQ
Do all Toronto condos have the same renovation rules?
No. Confirm the process and arrangements for the actual building and project with management. Do not rely on another building or another owner’s experience as permission for your work.
Can a small condo bathroom be finished in one visit?
The scope and material stages determine the visits. Joint treatment, drying, sanding, primer checks and painting may need separate stages, even in a compact room.
What access details should I give the contractor?
Provide the confirmed delivery route, booking arrangements, work windows, protection requirements and available storage space. Explain any constraints inside the unit and whether another bathroom is available.
Who confirms that a wall can be closed?
The relevant trades and professionals should confirm completion of their work and any required checks. Identify that handoff before booking enclosure and finishing.
Can I store drywall and tools in the condo hallway?
Confirm storage arrangements with management before delivery. Plan an approved place for materials and equipment that keeps the access route clear; do not assume shared hallways are available for renovation storage.
Drywall service pages and guides
Plan the Right Drywall Service Next
Field Photos
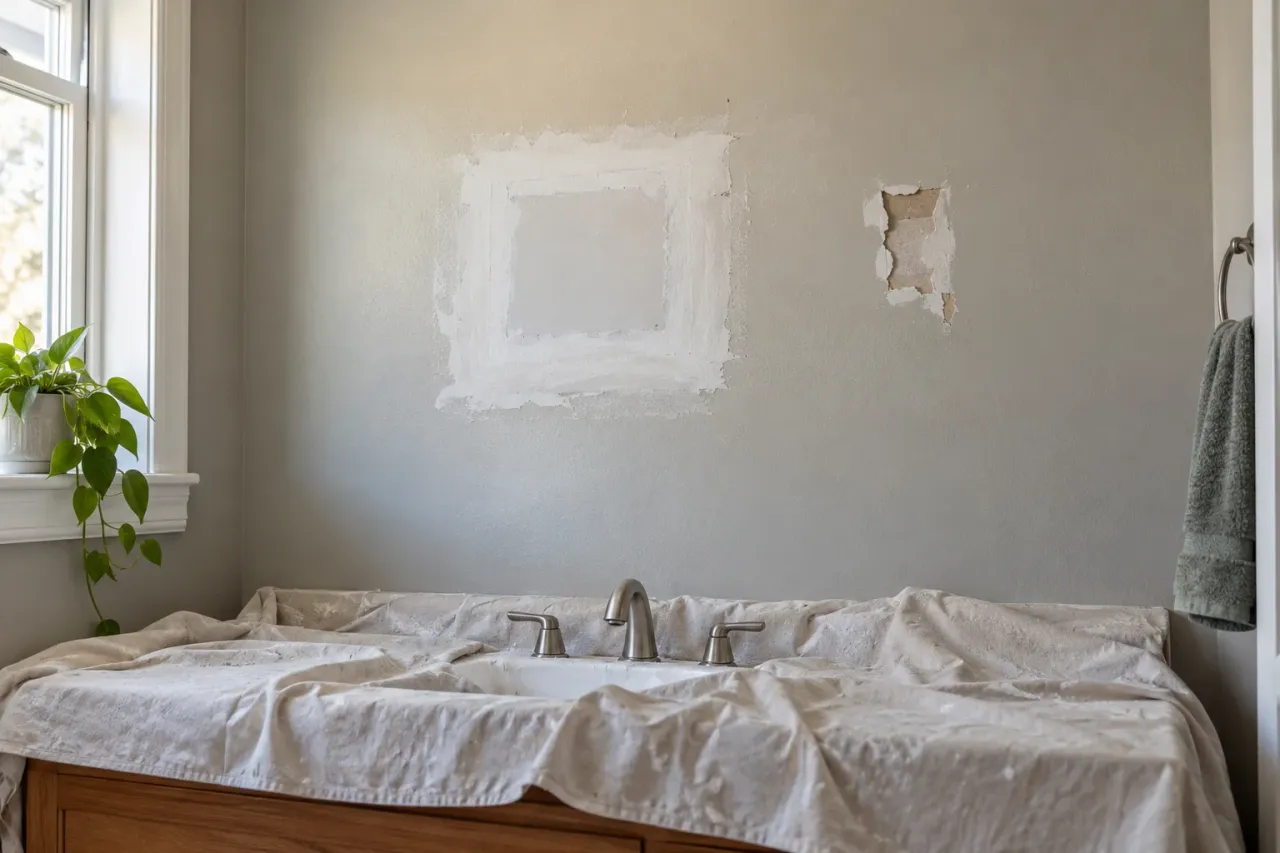
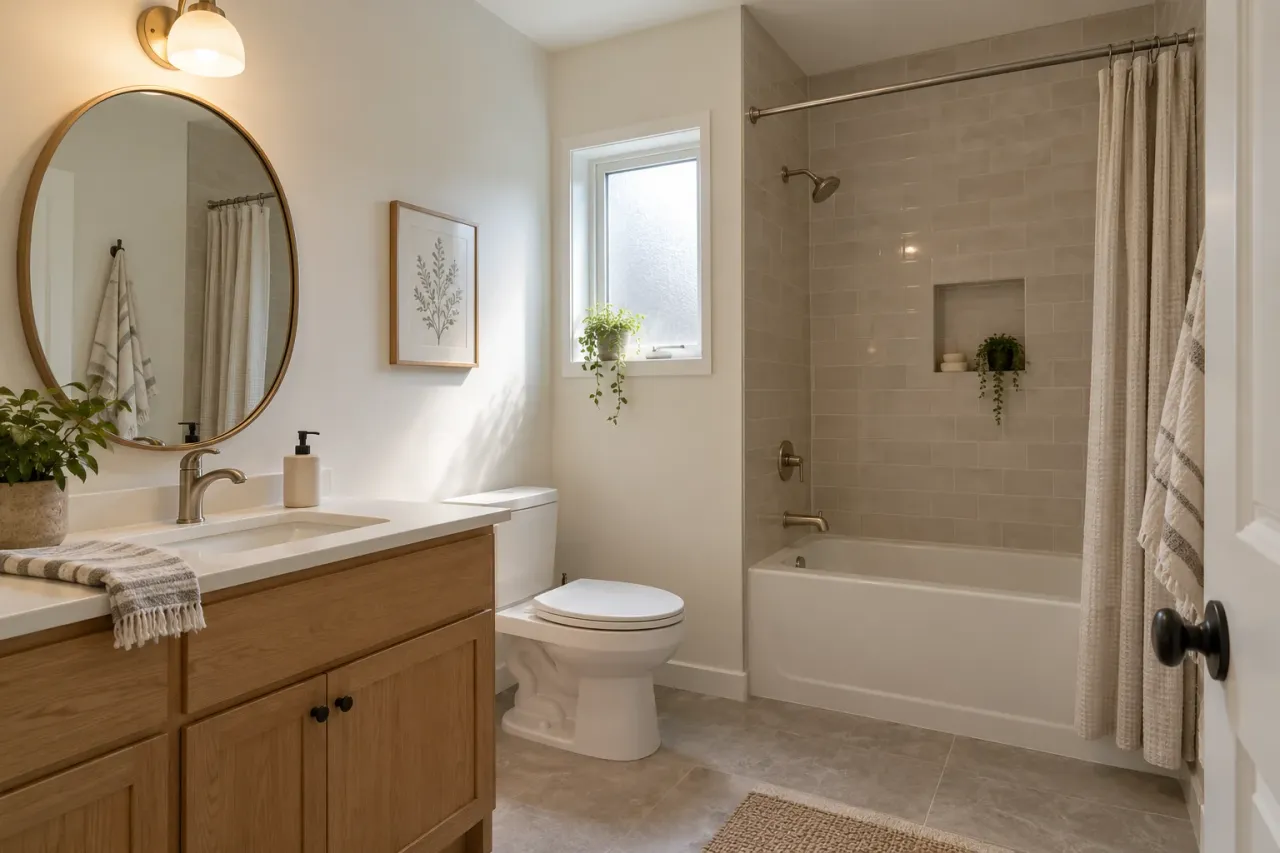
Bathroom planning illustrations
Article Review
AuthorEPF Pro Services
Reviewed byEPF Pro Services
UpdatedOctober 18, 2026
Plan your drywall scope
Get a drywall quote today
Share photos, room sizes, and timing. We reply the same day with Toronto drywall availability and a clearer written scope.
Quick next step