
Smooth Ceiling Inspection Checklist: Before and After Painting
Updated September 23, 2026
Inspect a smooth ceiling at planned stages, under agreed room lighting. A clear walkthrough separates surface corrections, paint touch-ups and final cleanup.
- Trusted since 2005
- Fully insured
- Dust-controlled sanding
- Paint-ready finishing
- 3-year workmanship warranty
Quick Answer
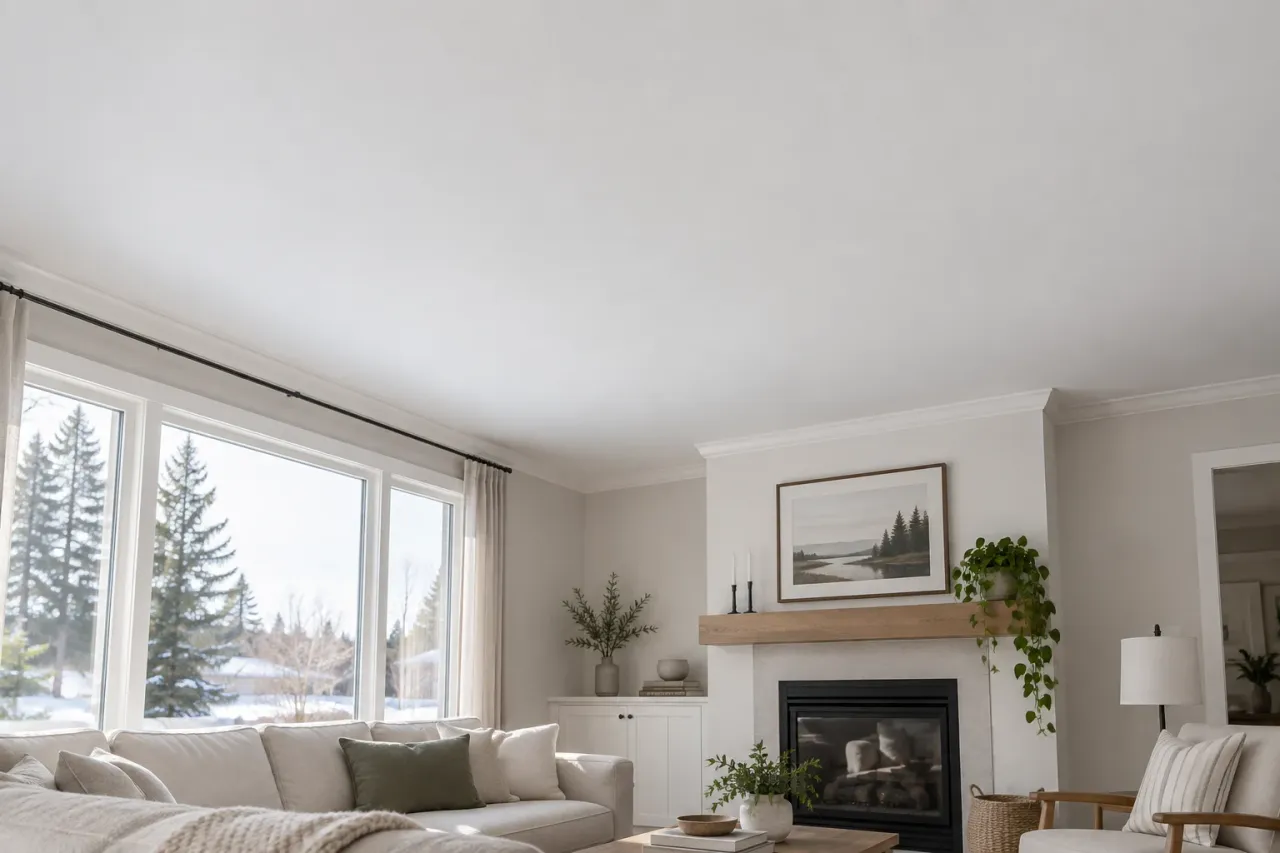
Agree on the intended ceiling finish and lighting before work starts, inspect the prepared surface and primer before final painting, and review the dry painted ceiling from normal room positions. Record specific issues with their locations, then confirm the correction and repainting scope. A finish-level label does not replace a shared appearance standard or resolve underlying board and framing problems.
A useful smooth ceiling inspection checklist follows the job from the agreed finish through preparation, primer, final paint and handover. It should help a homeowner describe what needs attention without confusing a surface defect with a coating difference. The best time to establish that process is before work starts, when the lighting, painting boundaries and expected finish can still be discussed together.
For popcorn ceiling removal and smooth refinishing, inspection is particularly useful because the original texture may conceal repairs or uneven areas. Removal reveals the surface that must be finished. A ceiling that looks clean immediately after scraping may still need substantial preparation, while a ceiling that looks patchy in raw compound may be progressing normally toward a uniform painted result.
The ceiling walkthrough at a glance
| Stage | What to review | Next step |
|---|---|---|
| Before work | Finish scope, lighting, retained features and painting boundaries | Record the agreed result and exclusions |
| After preparation | Surface shape, joints and visible defects | Correct before primer where appropriate |
| After primer | Pinholes, scratches, patch edges and remaining surface differences | Identify corrections and prime them as needed |
| After finish paint dries | Coverage, sheen, transitions and visible repaired areas | Agree any touch-up or broader repaint |
| At handover | Completed corrections, fixtures, cleanup and care information | Confirm remaining responsibilities and room release |
These are review stages, not a demand that the homeowner supervise each application. Ask the contractor which points suit the actual sequence and how you will be notified. Some projects can combine a discussion with a scheduled visit; others need photographs and a later walkthrough. The important part is leaving time for corrections before furniture returns or another trade covers access to the ceiling.
Agree on the intended result before the first coat
Write down whether the work includes removal only, repairs and a paint-ready finish, or a completely painted ceiling. Identify the rooms and ceiling planes included. A large connected ceiling can extend beyond the room name used in casual conversation. Bulkheads, closet ceilings, stair landings and areas above cabinets should be identified individually where there could be ambiguity.
Discuss the existing ceiling rather than assuming that every surface will become a newly built plane. Broad framing irregularity, old board alignment and previous repairs can affect what surface refinishing alone can achieve. If flattening significant unevenness is part of the goal, it needs to be assessed and priced explicitly. A skim coat should not be presented as a cure for every defect behind the visible finish.
Bring the intended paint and lighting into the discussion. A room with strong daylight across the ceiling presents a different appearance challenge from a small room with diffuse lighting. New recessed lights or directional fixtures can also change what you notice. Discuss those planned changes before finishing so the contractor is evaluating the ceiling under the conditions the room will actually have.
Understand the finish specification without relying on a label
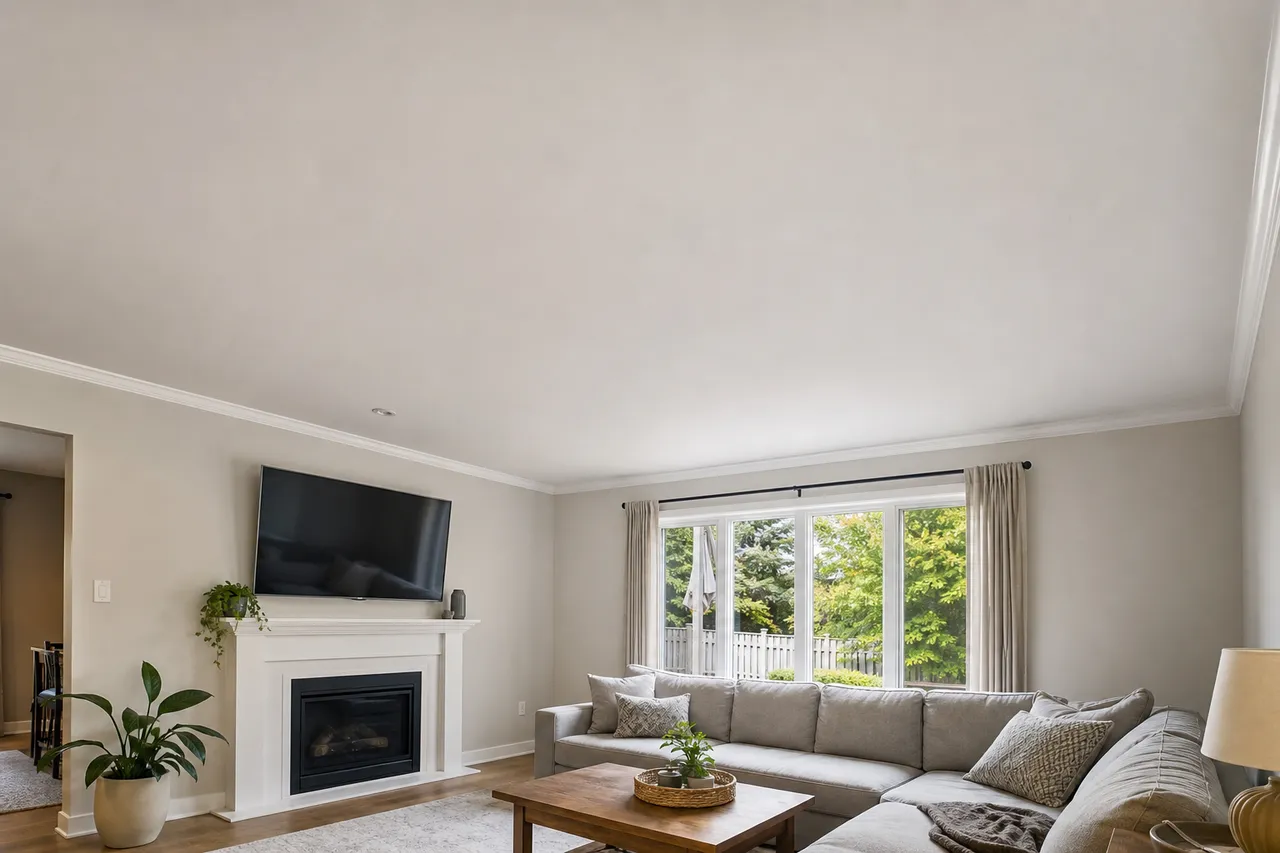
A finish level describes preparation, not an unlimited promise about appearance under every possible light. Level 5 includes a full-surface treatment beyond the joint and fastener finishing associated with Level 4. Whether that additional work is appropriate depends on the substrate, decoration and lighting. It does not replace sound board installation or the correction of failed joints.
The existing guide to Level 4 versus Level 5 finishing after popcorn removal explains that choice. For inspection, connect the selected specification to the written work scope. Ask what surface preparation, primer and final coating are included, and how any additional work revealed by removal will be discussed before proceeding.
For demanding appearance expectations, an agreed sample area can be useful. It lets the homeowner and contractor review the proposed preparation and decoration under the planned lighting before treating a much larger surface. A sample does not erase the differences between old ceiling areas, but it can make the intended finish more concrete than broad words such as perfect or premium.
Use the room's lighting and normal viewing positions
Look at the ceiling from the positions where it is normally seen: the doorway, seating area, kitchen work area and other ordinary viewpoints. Use the intended room lighting and available daylight. A close light held against the surface can help a finisher locate defects during preparation, but it should not unexpectedly become the only standard for accepting the entire completed room.
At the same time, strong real window light should not be dismissed simply because it makes a problem visible. If it is part of how the room is ordinarily used, it belongs in the appearance discussion. Agree on the conditions in advance and review them together. This avoids one person evaluating under temporary work lamps while another expects the result to be judged with the new permanent lighting switched on.
USG's finishing and decorating guidance discusses the relationship between finish, decoration and viewing conditions. Use relevant project specifications and manufacturer guidance with the contractor rather than inventing a universal acceptance distance or demanding that every existing ceiling behave like a new wall sample.
Review the prepared surface before primer
Before decoration, the contractor should assess visible joint ridges, poorly blended repairs, scratches, pinholes and other surface problems. This is a useful moment to distinguish necessary corrections from the changing colour of raw materials. Drywall paper and joint compound can look different while still forming a suitably prepared surface. Colour uniformity at this stage is not the same as surface uniformity.
A broad shadow may point to a wave or raised area, while a small mark can come from a scratch or unfilled void. Do not try to diagnose every mark by touch or begin sanding parts of the ceiling yourself during an active contract. Explain what you see and let the contractor identify the appropriate correction. Unplanned homeowner work can change the surface and complicate the agreed finishing system.
If the ceiling includes loose board, active cracking or signs of moisture, the next step may be further assessment rather than another finish coat. Our drywall installation service is relevant where the substrate itself needs rebuilding. Refinishing and board replacement are different scopes, and the decision should be made before expecting paint to hide a continuing underlying problem.
Use primer as a planned opportunity for corrections
Primer can make surface details easier to evaluate because it reduces the visual distraction of raw compound and board. Review the surface after the relevant drying interval. Look for remaining scratches, small holes, raised patch boundaries and transitions that need further attention. This is often a more useful correction point than waiting until the last coat of paint has been applied and the room has been unpacked.
Corrections made after primer create new prepared areas that may need sanding, cleaning and suitable priming before finish paint. Ask how that sequence is included in the job. A quick dab of finish paint over fresh filler may not produce the same surface as the surrounding coating. The correction should follow the selected materials and coating system rather than an improvised shortcut to meet a handover appointment.
Allow the contractor to distinguish an actual defect from a temporary coating condition. Inspecting while primer is still drying can make an uneven-looking area seem more conclusive than it is. Agree when the review will occur and what stage the room has reached. If you cannot attend, photographs can record concerns, but a later in-person review may be needed to resolve reflections or subtle surface changes.
Separate surface shape from paint appearance
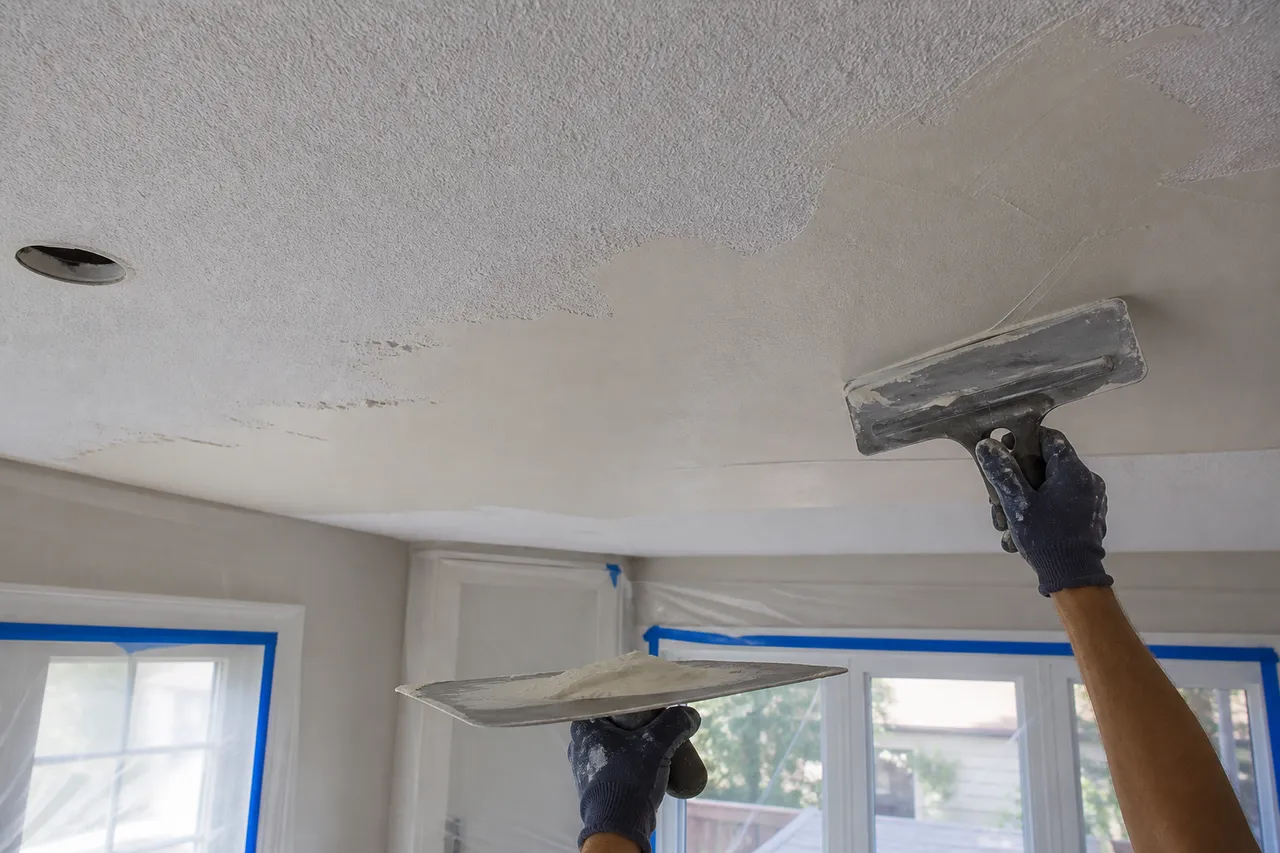
A raised repair, a depression and a change in sheen can all make a ceiling look uneven, but they require different responses. A surface ridge generally needs finishing correction. A coverage difference may need an appropriate additional coat. A sheen or application-texture mismatch may require a broader painting boundary. Simply requesting more paint does not explain which problem should be addressed.
The guide to ceiling imperfections after popcorn removal provides more detail on these distinctions. Use it to understand the discussion rather than to label every visible line as a major failure. An existing ceiling can have several conditions at once, and a sensible correction plan identifies the cause and scope of each significant issue.
Look especially around previous fixtures, repairs, long joints and transitions into bulkheads where work may have changed the surface. These locations deserve a considered review because several materials and finishing operations can meet there. They are not automatically defective. The purpose is to confirm that the repaired areas meet the agreed result, not to create a list based only on where a patch once existed.
Inspect the final painted ceiling after appropriate drying
Check the finished paint at the appropriate stage for the product and room conditions. Review coverage, consistency and the appearance of corrected areas. Compare the ceiling from more than one normal position. A wet edge, recently applied touch-up or temporary lighting arrangement can affect what you see, so record the stage as well as the concern before deciding what further work is needed.
Flat ceiling paint is commonly chosen to limit reflection, but it cannot conceal every wave or poorly finished edge. A smooth result depends on the preparation as well as the coating. If the quotation names a particular product or sheen, confirm that the finish matches the agreed specification. Keep the coating information for future repairs rather than relying on a verbal description such as standard white.
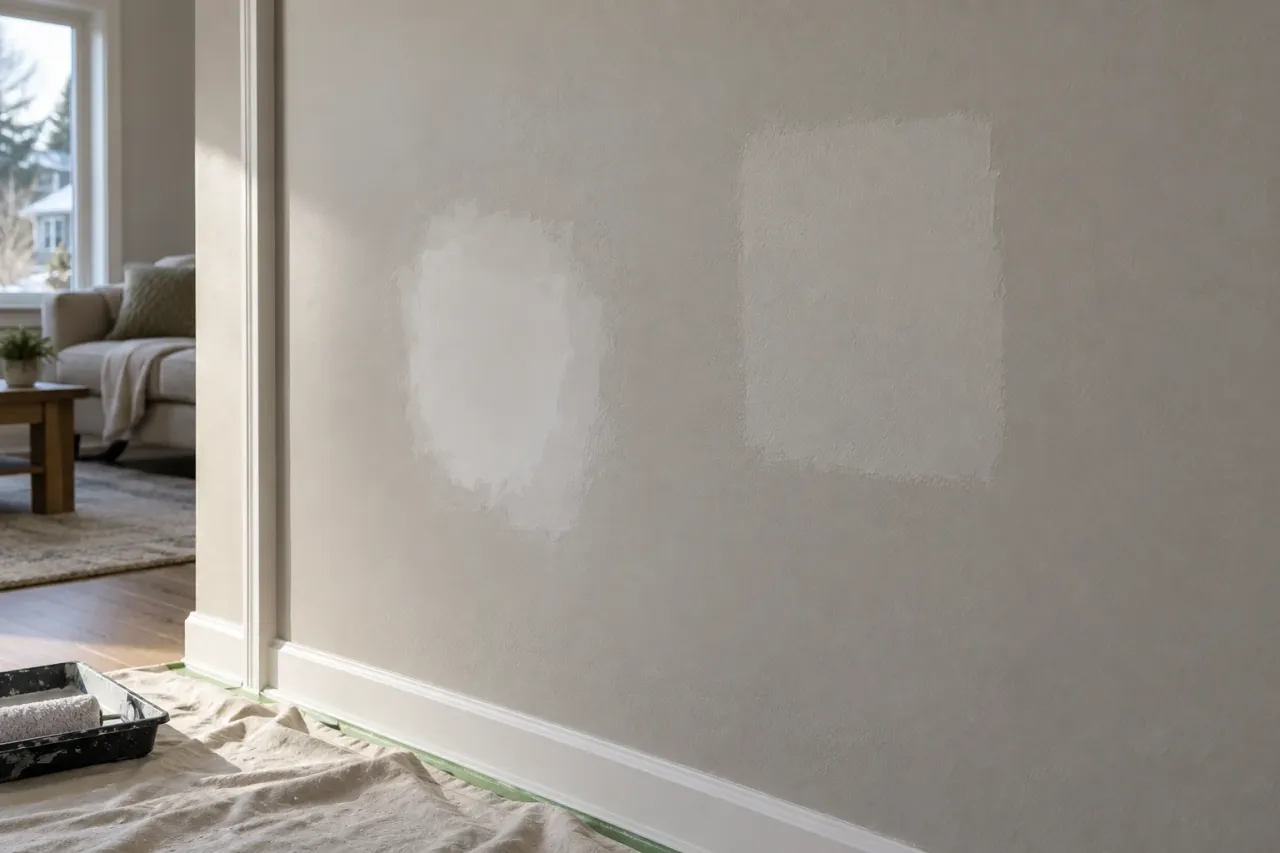
A repair after final painting may need more than a small painted spot. Discuss whether the correction can be blended acceptably or whether the affected ceiling plane needs repainting. The new guide to choosing a painting boundary after drywall repair explains the underlying decision for walls; ceilings likewise need a considered boundary, especially across long uninterrupted areas exposed to side light.
Check perimeter details and the agreed trade handoff
Review the ceiling-to-wall junction and the edges around retained features. Confirm whether the scope includes wall touch-ups, crown moulding work or only the ceiling finish. A clean ceiling edge and a complete wall repaint are different tasks. Where removal affects the perimeter, the quotation should explain how those areas will be finished and which neighbouring surfaces are included.
Fixtures, vents and access panels should be addressed according to the agreed responsibilities. If electrical fixtures require work, that belongs with a suitably qualified electrician rather than a homeowner improvising a repair during the walkthrough. Confirm who returns to complete any outstanding installation and whether it affects the final ceiling inspection. Do not treat an unfinished trade handoff as completed merely because the painted surface looks good.
Ask about accessible inspection points and retained equipment before the job closes. Finishing should not conceal an access panel that is meant to remain usable. Where a particular assembly or building requirement applies, have the responsible professional confirm compliance. A visual homeowner checklist is useful for decoration and scope, but it does not replace a technical inspection of hidden construction or building systems.
Make a short, specific correction list
Group observations by room and location. Describe the visible condition without guessing at blame: uneven sheen near the window, a raised patch edge by the former pendant, or an unfinished perimeter beside the cupboard. Pair one context photo with a closer image where useful. Avoid extreme camera effects that make the location difficult to recognize or turn a subtle reflection into a misleading colour difference.
Review the list together and distinguish included corrections from requests that change the original scope. Agree on the work, the expected visits and the repainting boundary. If another trade caused new damage, identify it separately so the responsibilities remain clear. A shared list helps the crew finish efficiently and gives the homeowner a reliable way to check completion without reopening the whole discussion each visit.
Keep reasonable access available for the agreed corrections. Moving heavy furniture back immediately can turn a small touch-up into another protection and moving operation. If the room must be occupied before all work is finished, discuss that constraint before the return visit. The completion plan should account for the household rather than assume the room will remain empty indefinitely.
Include cleanup and care in the final handover
Confirm that the contracted cleanup and equipment removal are complete, then review any care instructions for the new coating. Ask when it is appropriate to resume normal room use, install decorations or arrange additional cleaning. Follow the selected product's guidance and the contractor's relevant instructions rather than assuming every coating has the same drying and curing schedule.
Record the paint product, colour and sheen, together with any useful repair notes. Keep the quote and agreed correction list with that information. If a mark appears later, those records help explain what was originally done and what may have changed. Report concerns promptly with photographs instead of sanding, washing aggressively or repainting the area before the contractor can assess it.
Cleanup boundaries should also be explicit. Removing work debris and protection is different from deep-cleaning all surrounding soft furnishings or the entire house. Agree on what is included and arrange any additional cleaning after corrections are complete. This is especially important in an occupied home, where people may have moved belongings between rooms during the project.
Plan the inspection with your ceiling project
EPF provides ceiling refinishing across the GTA and nearby areas. For a Hamilton project, the Hamilton popcorn ceiling removal service page provides local service context. The inspection approach should still be based on the actual ceiling, lighting and written scope rather than an assumption about finish quality from the property's city or neighbourhood.
Send room dimensions, ceiling heights, wide photos, close-ups of repairs and details of planned lighting changes with your enquiry. Explain what you notice now and what result you want after the work. A clear starting discussion makes the eventual walkthrough simpler because both parties can compare the completed ceiling with an agreed scope, instead of introducing a new finish expectation at the end.
FAQ
When should I inspect a newly smoothed ceiling?
Agree on review points before work starts. Useful stages include prepared surface, dried primer, appropriately dried finish paint and completion of any agreed corrections.
Should I use a flashlight against the ceiling to approve it?
Close inspection lights can help locate defects during finishing, but the acceptance discussion should use agreed project requirements and the room's normal viewing and lighting conditions. Real side light from windows should be considered in advance.
Does Level 5 guarantee a perfectly flat ceiling?
No. It describes additional surface treatment, not a remedy for loose board, framing irregularities or every possible appearance condition. Discuss the substrate, lighting and intended decoration with the contractor.
Why inspect after primer instead of only after paint?
Primer can make remaining surface defects easier to assess. Correcting them at that stage allows the appropriate preparation and priming before final paint.
What information belongs on a ceiling correction list?
Record the room, location and visible condition, with a wide photo and close-up where useful. Agree which items are included corrections, the required work and the return-visit schedule.
Useful next steps
Keep Planning Your Project
Smooth ceiling refinishing
Plan the complete ceiling service.
Understand ceiling imperfections
Distinguish surface shape from coating appearance.
Choose the finish level
Connect surface preparation with lighting and decoration.
Agree on repainting boundaries
Plan the scope when a correction needs paint.
Request a ceiling assessment
Send ceiling and lighting photos.
Field Photos
What the Work Can Look Like
Article Review
AuthorEPF Pro Services
Reviewed byEPF Pro Services
UpdatedSeptember 23, 2026
Plan your painting scope
Get an interior painting quote today
Share room photos, close-ups of wall damage, trim and ceiling photos, surfaces included, and timing. We reply with GTA interior painting availability and a clearer written scope.
Quick next step