
Can Rough Garage Drywall Finishing Be Fixed? (2026)
Updated September 11, 2026
Rough garage walls may need better finishing rather than complete replacement. First separate sound utility work from loose tape, damaged board and unsuitable coatings.
- Trusted since 2005
- Fully insured
- Dust-controlled sanding
- Paint-ready finishing
- 3-year workmanship warranty
Quick Answer
Rough garage walls may need better finishing rather than complete replacement. First separate sound utility work from loose tape, damaged board and unsuitable coatings.
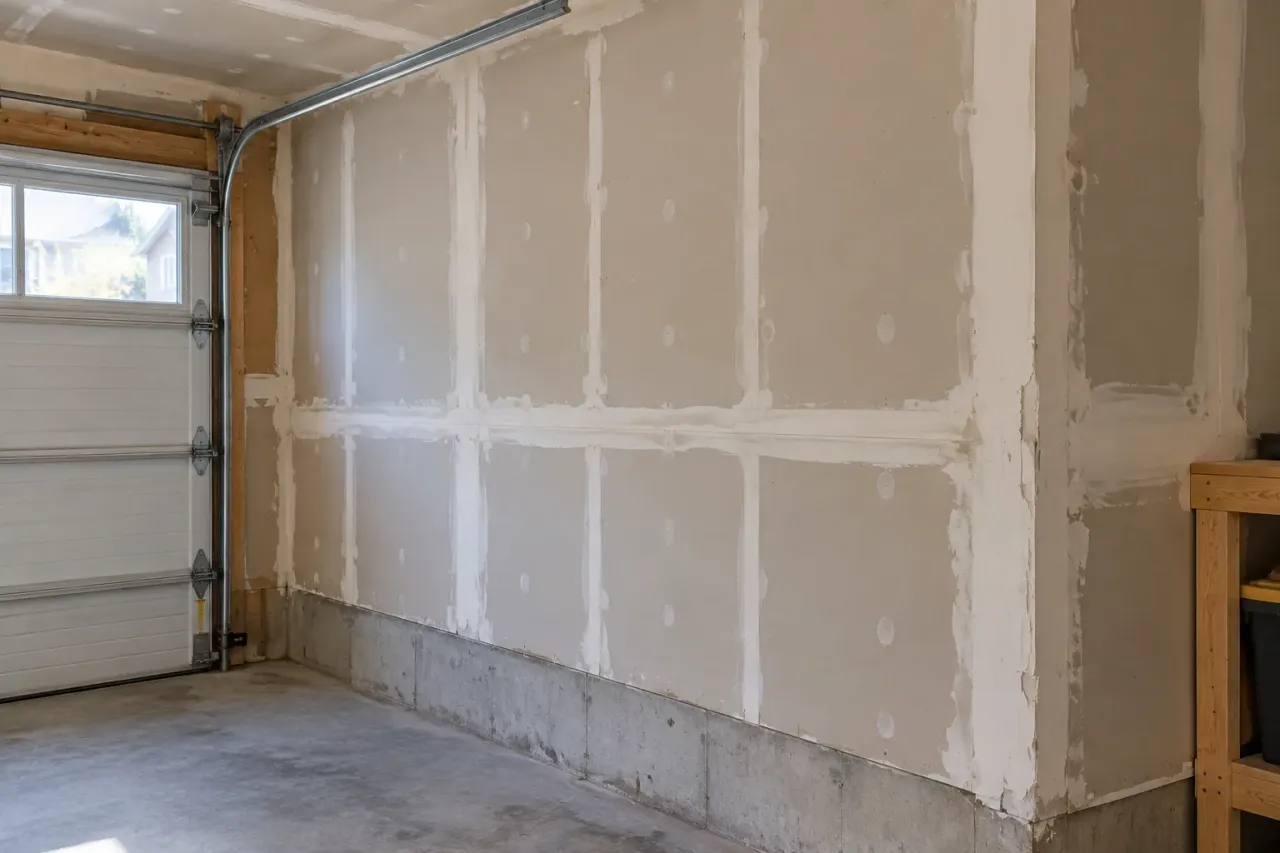
Rough garage drywall finishing can often be improved without replacing every panel, provided the retained board and joints are suitable. Narrow compound ridges, visible fastener spots and uneven old patches are appearance concerns that need to be distinguished from loose tape, damaged board or an unreliable coating. The repair plan should address the failed areas before improving the wider surface.
EPF's garage drywall repair and refinishing service can assess both necessary repairs and a cleaner finish for a workshop, storage space or painted garage. This guide explains how to describe rough work, compare local corrections with broader finishing and decide what result belongs in the quote. It does not assume the original utility finish was intended to look like a decorated living room.
Start with the condition you can see
Use these observations to prepare the assessment, not to diagnose concealed construction. Pair each detail photograph with a wider view so the repair area, adjoining surfaces and access are clear.
Sound but rough seams
Assess reshaping and broader blending.
Detached tape or coating
Correct failure before adding a smoother surface.
New appearance goal
Define lighting, paint and the surfaces included.
Define what looks wrong to you
Start with the visible concern rather than the phrase bad drywall. Is there a sharp ridge beside a seam, a patch that stands proud, rough compound around a screw or a tape edge that is actually lifting? Different observations lead to different work. Clear descriptions let the estimator separate shaping from repair of failed material.
Take a full-wall photograph and a few close views of the areas you want changed. Use normal room lighting as well as a view that shows the profile if it is visible. Do not rely on one extreme flashlight image to define the appearance of the entire garage, but do show the light conditions that will exist after renovation.
A written list can group essential defects and optional appearance concerns. For example, detached tape belongs in the repair discussion, while improving sound joints behind a storage cabinet may be optional. The categories help you control the project without asking the contractor to guess which imperfections matter most to you.
Utility finishing and a new appearance target
Some garages were finished for practical utility use, leaving compound and joint treatment visible. That appearance does not by itself establish defective board or a need for total replacement. The homeowner may simply be asking the surface to meet a different standard now that painting, lighting or a workshop upgrade is planned.
Describe the intended use and the surfaces that will be visible. A wall behind permanent storage and the main wall beside a workbench can have different cosmetic priorities. Applicable construction requirements still need to be respected, but an appearance scope can be selective where the transitions are practical.
Avoid framing the estimate as proof that the original builder did everything badly. A more useful question is what work is required to reach the new specification on the existing base. That keeps the discussion professional and focused on the repair and finishing choices available to the homeowner now.
Narrow compound ridges need shaping, not just more paint
A raised joint can remain visible through fresh coating because paint follows the surface profile. Adding a thick narrow band may make the transition more obvious. The finisher should assess whether the existing material can be retained and reshaped or whether an underlying problem needs correction first.
Broad feathering can make a change in surface height more gradual, but it is not a way to correct a loose panel or major alignment issue. Ask what the proposed treatment addresses. A quote should distinguish surface blending from board correction rather than promise that one skim will make every wall straight.
Do not aggressively sand a ridge before assessment. It may expose tape, damage paper or leave a hollow beside material that remains high. Sanding is one finishing operation, not a universal remedy for an uneven garage. The appropriate sequence follows the actual shape and condition of the retained work.
Fastener spots and corners deserve attention
A homeowner may focus on long seams while isolated screw treatment remains conspicuous after painting. Include fastener imperfections in the scope when you want the whole visible wall improved. The contractor needs to distinguish a surface finishing mark from an attachment issue that requires a different assessment.
Corners can also show bulky compound, rough edges or inconsistent lines. Photograph both adjoining planes and explain whether the appearance concern continues along the full corner. A quote for the middle of the wall may not automatically cover doorway returns, boxed posts or the wall-to-ceiling transition.
These details are not reasons to expand every job without limit. They are reasons to define included surfaces before pricing. A short marked checklist lets the homeowner choose which areas are essential and which remain as they are, rather than discovering an excluded corner after the main wall has been coated.
Old patches may need a different treatment
A previous patch can have a sound base but an awkward profile, or it can include failed tape and unsuitable material. The raised outline alone does not answer that question. Share any history of the opening and previous repair so the estimator can assess the patch in context.
If the patch has cracked again, record where the new line falls relative to its edge. A recurring defect needs more than a surface-shape discussion. The next repair should identify what is unsuitable or unresolved, not simply add another layer over every earlier attempt.
When the old repair is sound, an appearance improvement may involve suitable preparation and wider blending. Painting may also need to extend beyond the patch. The physical repair boundary, compound transition and final decorating area can be different sizes, and the quote should make those distinctions understandable.
Loose tape must be addressed before smoothing
A whole-wall skim rests on what is already there. If tape is detached beneath it, the new coat does not rebuild that missing bond. The affected joint needs assessment and appropriate repair before broad appearance work proceeds. Sound rough finishing and failed reinforcement should not be treated as the same condition.
The peeling garage tape guide explains what to photograph and how a local boundary may be chosen. Removal does not automatically mean stripping all tape in the room. The finisher should identify the unsuitable area and the preparation needed to reach a suitable base.
Where the board itself is compromised, repairs may include correction or replacement before re-taping. If there is active moisture, loose construction or uncertain material, arrange the relevant assessment first. The purpose of refinishing is to improve a suitable surface, not to hide evidence that another problem still needs attention.
Can the painted surface receive new finishing?
Existing paint introduces its own preparation questions. The surface may be sound, dirty, flaking or layered with unknown products. The contractor should assess compatibility and condition before applying broader compound work. A wall being painted already does not establish that it is ready for another finishing system.
Tell the estimator what you know about previous coatings. Keep labels, receipts or product information when available, but acknowledge gaps. A generic primer recommendation is not a substitute for reviewing the actual retained material and following the selected products' instructions.
Do not wash, scrape or sand an unknown old surface aggressively just to prepare for the estimate. Some material conditions require appropriate evaluation before disturbance. Photographs and an honest description of the history are a useful starting point without changing the job or creating unnecessary dust before the work is defined.
Local corrections or a broader skim?
Selected corrections can make sense where roughness is limited and the surrounding surface already meets your expectations. The scope might address a few ridges, fastener marks and an old patch. The finisher still needs workable blending boundaries and a clear painting handoff for those areas.
Broader smoothing can be useful when many sound imperfections spread across the same visible plane. It should follow suitable preparation and necessary repairs. The repair versus skim-coating guide explains how both operations can belong in one project without being interchangeable.
Ask for the alternatives to reach identifiable outcomes. Correcting named defects is different from preparing an entire wall to a new appearance specification. Compare the included surfaces, preparation and decoration before comparing the totals. A larger scope may be worthwhile, but it should be a deliberate choice based on the finish you want.
Decide the finish around the decoration
Share the planned paint sheen, colour and lighting before choosing the final surface treatment. A finish assessed for quiet, even light may look different beside a strong workshop fixture. The contractor should know the intended conditions rather than discover them after the final sanding pass.
Level 4 and Level 5 describe finishing treatments, with Level 5 adding a whole-surface skim after the appropriate joint work. Neither label promises to straighten unreliable construction. The garage finish levels guide explains how to select and record the treatment by surface.
Every garage does not need the highest appearance upgrade. A selected visible wall may justify more attention while another sound area remains at a utility finish. The important step is to put that choice in the scope and agree on the transitions. An unspecified request to make the garage smooth leaves too much open to interpretation.
A sample can prevent a mismatch in expectations
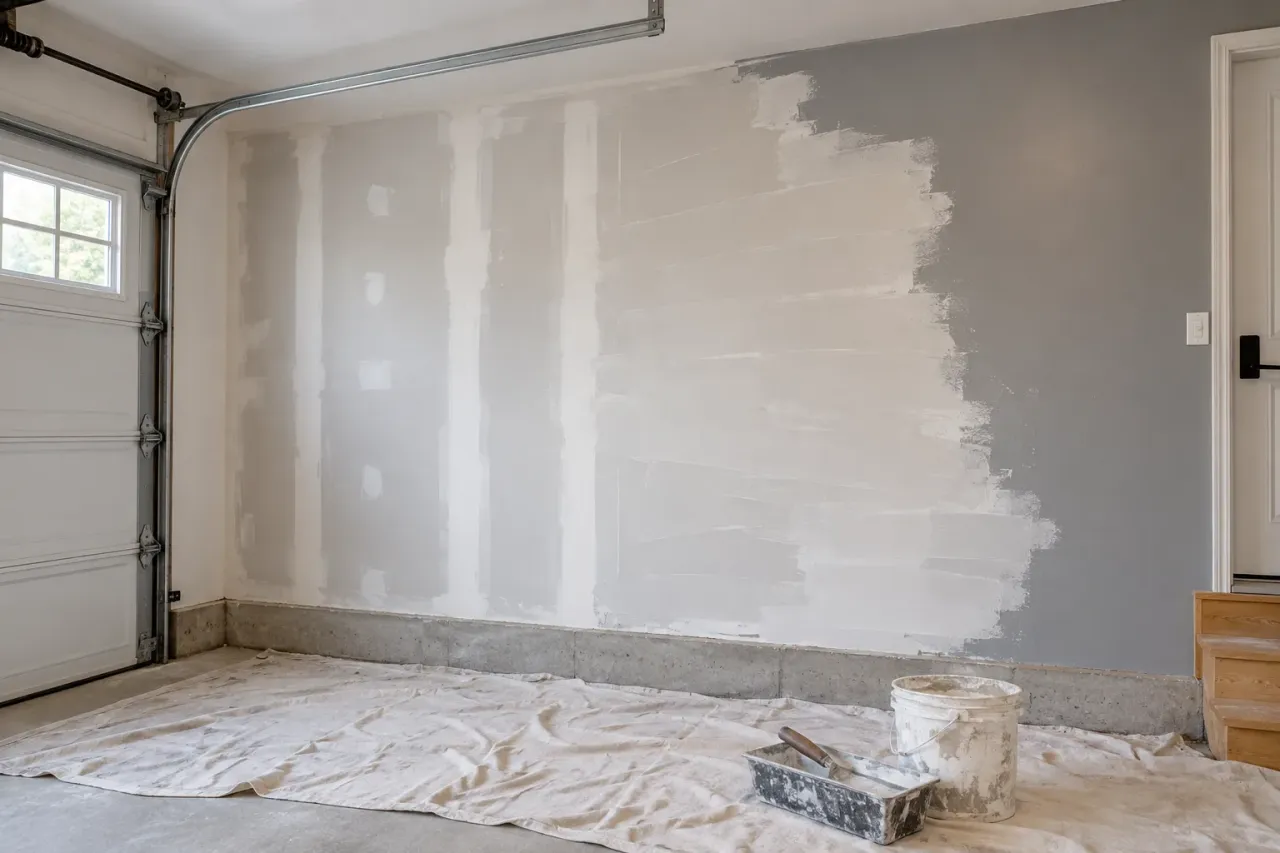
For a demanding wall, discuss a representative sample before widespread finishing. It should include relevant surface conditions and the planned decoration, not only a small patch of colour. The homeowner can then see how the proposed preparation and paint work together under the intended lighting.
Agree on what the sample represents and whether it remains part of the finished work. Record the accepted products and viewing conditions. If the paint or fixtures change later, revisit the appearance discussion before expecting the original sample to demonstrate the new design.
A sample does not excuse skipped preparation elsewhere, and it is not a guarantee of perfection from every angle. It provides a practical reference for the result being purchased. That is more useful than comparing two quotes that both say premium finish but describe different amounts of surface work.
Plan the garage before the finishing crew arrives
Broad wall improvement needs access beyond the most visible rough seam. Move agreed belongings and confirm which fixed items remain. Shelves, benches and vehicles can limit the room needed to blend and inspect the surface. An estimate based on an empty wall should state that access assumption clearly.
Where work approaches tracks, fixtures or other installed systems, coordinate the appropriate trade rather than modifying hardware yourself. A drywall finisher should not have to improvise around a partly dismantled garage door or unknown electrical work. Define those dependencies before arranging the finishing dates.
Protection and cleanup belong in the scope even when the garage is not a living room. EPF uses dust-control methods and HEPA sanding where appropriate, but dust extraction does not eliminate renovation dust. Plan for an active work area and agree when household access can resume between stages.
Drying, primer and the final appearance
Additional compound work needs suitable conditions and readiness between operations. A cold or intermittently used garage may require a different schedule from an interior room. Tell the contractor how the space is maintained and ask what conditions are needed for the selected products.
After surface refinement, suitable dust removal and inspection come before primer. Primer can reveal minor marks that require correction and spot priming before finish paint. Assign that responsibility in writing, especially when the homeowner or another painter takes over after drywall work.
A fresh coat should not be expected to conceal ridges, loose tape or unresolved depressions. Inspect the surface under the agreed lighting and record any finishing items before decoration continues. If the surrounding coating is retained, discuss whether a local paint blend can meet the appearance target or a larger wall should be repainted.
Compare the scope rather than the promise
One quote may repair failed joints and leave sound rough finishing untouched. Another may include broad smoothing and full wall painting. Both can be valid proposals, but their totals do not describe identical work. Compare the final condition and the included surfaces before deciding which price better suits the project.
Ask for necessary corrections, optional appearance work, protection, cleanup and decoration to be identifiable. If hidden material may change the scope, agree how the finding will be reviewed. That is more useful than a vague allowance to fix anything that looks bad once the crew starts.
A low surface-treatment price that excludes preparation can lead to a different total once loose material is addressed. Conversely, replacing sound board may be unnecessary if the real concern is finish quality. The estimate should make those decisions clear without steering every homeowner toward either the smallest or largest possible job.
Prepare the next step for your garage
Send your city, wide wall and ceiling photos, close-ups of the rough areas and a short list of the changes you want. Include dimensions, access restrictions and any known previous repair or moisture history. Mention the intended paint and lighting, or note which choices are still open.
Separate defects that need repair from surfaces you would like improved if the budget allows. State whether you want sanded preparation, primer or complete painting. EPF can then discuss an assessment and scope that connects the existing condition to the finish you actually want.
Use the quote form with a photo link if available, or explain that you have photos to share. A useful garage refinishing plan retains suitable work, corrects failed areas and defines the wider appearance treatment. It gives you a cleaner result to evaluate without assuming that rough drywall means the entire garage must be rebuilt.
Planning this repair in Oakville
For an Oakville finishing estimate, include the property location, planned paint sheen and the walls that will remain visible after shelving is installed. A neighbourhood name helps locate the job; photographs and an assessment establish which joints need repair and which surfaces only need finish improvement.
EPF serves all Oakville neighbourhoods. Review Oakville garage repair coverage and neighbourhoods, then include your location with the repair details when requesting an estimate.
FAQ
Can rough builder finishing be improved on retained board?
Often, if the board and existing work are suitable. Assess failed areas before choosing additional joint finishing or broader smoothing.
Will paint hide raised mud ridges?
Paint follows the profile. Suitable surface correction may be needed before primer and decoration.
Should every visible screw spot be included?
If you want the whole visible wall improved, identify fastener treatment, corners and returns in the scope. A seam-only quote may not include them.
Can I keep a utility finish behind storage?
A selective appearance scope can be discussed, while necessary repairs and applicable construction requirements still need attention.
Field Photos
What the Work Can Look Like
Article Review
AuthorEPF Pro Services
Reviewed byEPF Pro Services
UpdatedSeptember 11, 2026
Plan your drywall scope
Get a drywall quote today
Share photos, room sizes, and timing. We reply the same day with GTA drywall availability and a clearer written scope.
Quick next step