
Bathroom Drywall in Mississauga: Plan the Renovation Sequence
Updated October 18, 2026
A city-wide Mississauga guide to sequencing bathroom drywall, fixture changes, protection and finishing before you book the work.
- Trusted since 2005
- Fully insured
- Dust-controlled sanding
- Paint-ready finishing
- 3-year workmanship warranty
Quick Answer
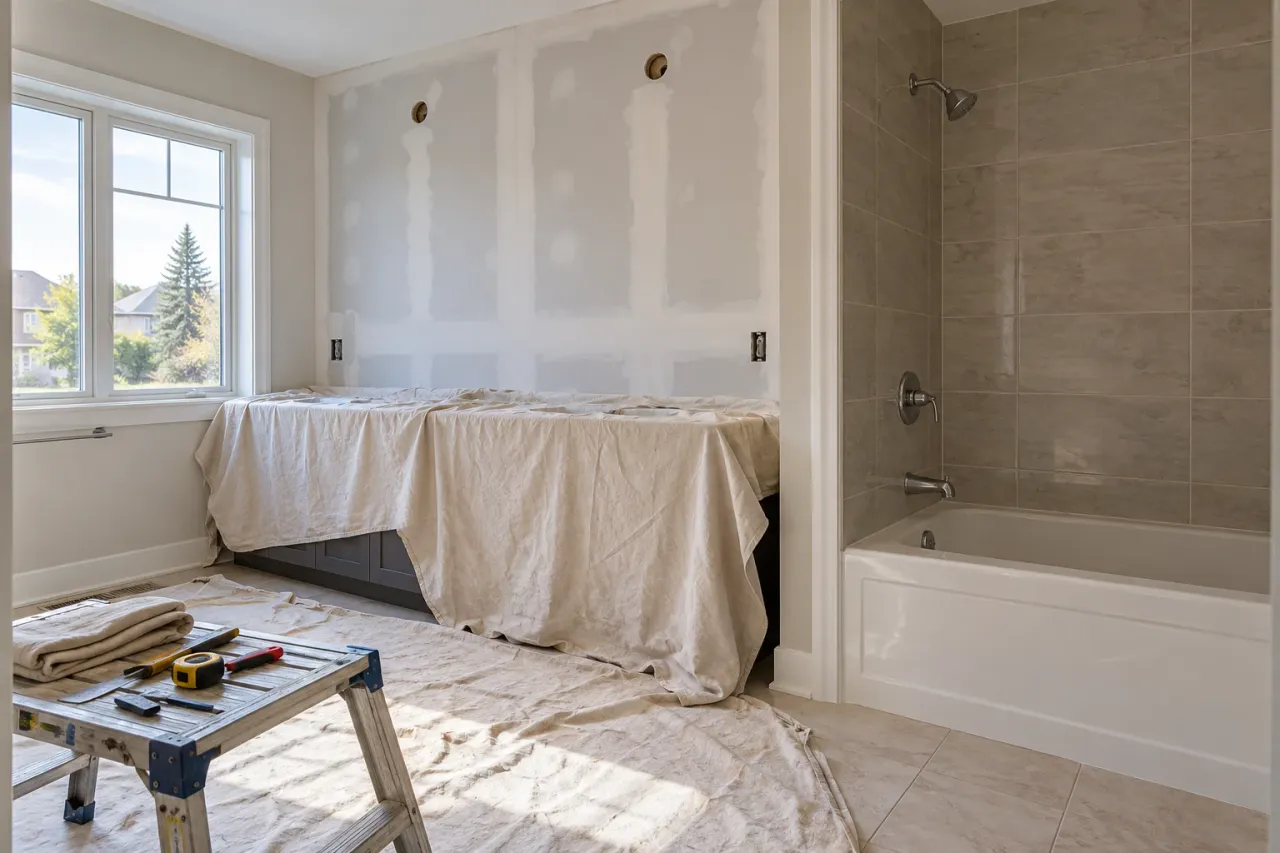
Plan bathroom drywall after the fixture layout and shower-system requirements are clear, but before demolition and trade bookings become fixed. Confirm what stays, what changes, who completes work inside the wall, and whether the drywall scope ends at backing, primer or finished paint. Build drying and household access into the schedule.
Bathroom drywall in Mississauga is easier to plan when the renovation is treated as a sequence of decisions rather than a booking for board and mud. Settle the room layout, identify the surfaces being retained and confirm what the shower installer needs. Then arrange access, work inside the walls, drywall installation and the final finish around those decisions.
Planning bathroom drywall in Mississauga starts with the room you have and the finish you want. EPF's drywall installation service supports projects with different room sizes, layouts and access conditions. A bathroom refresh with the vanity staying put can be very different from a room where fixtures move. The useful starting point is a clear description of your own project, not an assumption based on its address.
Put the renovation in the right order
| Planning stage | Confirm before moving on | Common consequence of skipping it |
|---|---|---|
| Layout and finishes | Fixtures, tile boundaries and retained surfaces | Fresh drywall opened for a late change |
| Assessment and access | Existing damage, protection and household needs | Unexpected work or loss of essential access |
| Work inside the wall | Relevant trades complete and ready for enclosure | Unnecessary access cuts after finishing |
| Board and surface preparation | Accepted backing and defined finish boundaries | Different trades expecting different surfaces |
| Primer, paint and handover | Coating requirements and return-to-use timing | Rushed finish or unclear completion |
Use the table as a conversation with the people doing the work. Several stages may overlap, but their dependencies remain. For example, the painter may work elsewhere while the bathroom is drying, yet the bathroom itself still needs its preparation completed. Ask the contractor to explain which decisions must be settled before a date becomes dependable and which can reasonably remain flexible.
Decide what stays before listing what you want to change
Start with the retained bathtub, tile, vanity, toilet, trim and flooring. These items affect both the drywall boundary and the protection plan. Keeping an existing tile surround may limit where a wall can be opened without disturbing its edge. Keeping a vanity in place can restrict the room available for finishing behind or beside it. Mention these constraints before asking for a price.
Next list the surfaces you expect to see at completion. The wall behind a large mirror may become visible if the new mirror is smaller. A shorter vanity can expose a previously hidden unfinished strip. A new light may reveal a patch that was once in shadow. Give the contractor the intended sizes and positions so the preparation covers the final arrangement rather than the old one.
Avoid describing the job as a simple bathroom refresh until those changes are understood. A modest-looking change can involve several small repairs, while a larger fixture replacement may leave most walls intact. An accurate scope follows the actual interfaces. It should say where the drywall work begins and ends instead of relying on a label that means something different to each person.
Make fixture choices before the wall is closed
Confirm the vanity, mirror, cabinet and accessory positions with the trades responsible for installing them. Obtain product dimensions and relevant fixing requirements. A wall-mounted item may need support planned inside the wall; a recessed cabinet changes the opening itself. The drywaller should receive the agreed layout before installing sheets rather than being asked to adjust a finished surface around a late delivery.
Decide what happens to existing lights, outlets and the fan. Electrical work belongs with the appropriate qualified trade. Drywall repairs around those changes should follow completion of the relevant work and any required checks. Keep the fixture plan with the scope so an opening is not closed simply because it looks unused during one visit.
A taped paper outline can help you visualize a mirror or cabinet without making new holes. Check the relationship to the vanity, door and nearby tile. This is a layout exercise, not a substitute for the installer's measurements. Once the actual dimensions are settled, record them clearly enough that the different trades do not have to infer the intended position from a casual conversation.
Separate the shower scope from the painted walls
Choose the shower assembly with its responsible installer before buying backing. Painted-wall preparation and shower-system preparation are not interchangeable. Ask who supplies the board, who accepts it, and who completes waterproofing. Our bathroom drywall materials guide explains why the full assembly matters more than choosing a board by colour.
Mark the outer tile edge on the plan. The drywall finisher needs to know how far the painted surface extends and how it meets the tile. Changes in material thickness can affect this junction. Confirm the intended trim and enclosure before finishing, especially where a narrow painted strip would leave little room to feather a repair neatly.
If different contractors are quoting separate parts, give each the same information. One should not price finishing the entire room while another expects untouched backing within the shower. Ask them to identify their stopping points in writing. The aim is a continuous, practical work sequence with no area assumed to be somebody else's responsibility.
Assess existing damage while there is time to change the plan
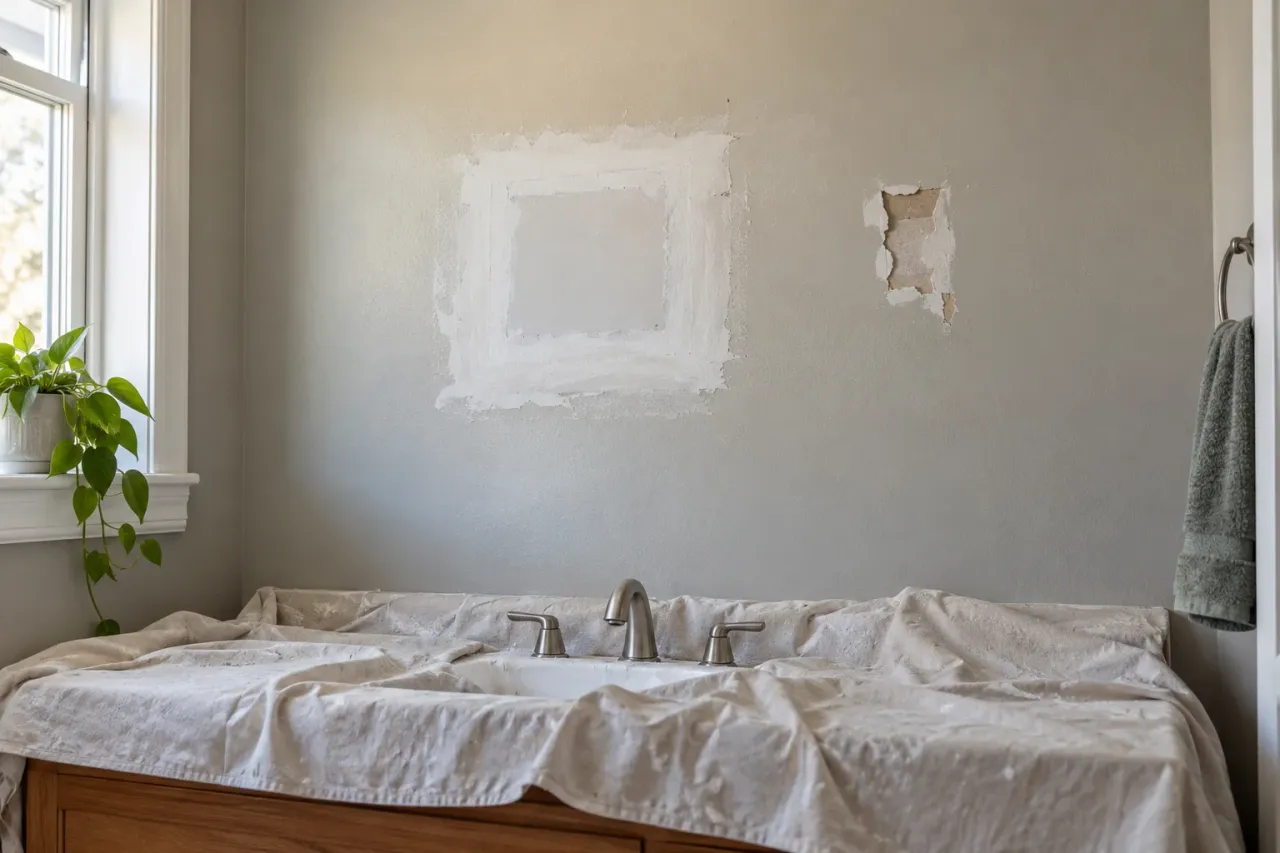
Look at loose tape, old patches, adhesive damage and any history of moisture. Describe what you know without trying to diagnose the wall from a photograph. A recurring stain or softened area needs the cause investigated before cosmetic work is scheduled. Do not disturb uncertain older materials simply to produce a clearer picture for an estimate.
For localized defects, drywall repair in Mississauga can be the appropriate scope. Several scattered repairs may still be worthwhile if the surrounding board is sound. Where broad areas are deteriorated or many openings meet, discuss a larger replacement section. Compare the completed surface and total work involved rather than assuming the smallest cut always produces the best result.
Ask how an unexpected condition will be handled once access is available. The contractor should explain the revised boundary, show useful evidence and obtain agreement before additional work proceeds. This makes an unavoidable discovery manageable. It also distinguishes a genuine change in condition from a task that should have been described in the original visible scope.
Plan how the crew and materials reach the bathroom
For a Mississauga house, describe stairs, turns, door widths and the path through finished rooms. For a condo, confirm the building's actual material-delivery and work arrangements with management. These are project details rather than city-wide assumptions. A photograph of the access route can explain more than the bathroom's floor area when the contractor is planning protection and sheet handling.
Identify what needs to move out of the route before work begins. Towels, toiletries and small furnishings are easier to relocate before protection is installed. If the bathroom is beside a bedroom or home office, discuss the effect of normal work noise and temporary access changes. Settle where equipment and materials can remain between visits without obstructing the household.
Protection should cover the route as well as the room. Ask what will protect the existing vanity, tub, floor and adjacent finishes, and what daily cleanup includes. Dust-controlled sanding with appropriate extraction helps manage the finishing stage, but no renovation should be presented as entirely dust-free. Discuss the actual arrangement rather than relying on a broad cleanliness promise.
Build a workable plan for a home with one bathroom
The only bathroom needs an explicit access conversation. Even if plumbing remains connected for part of the job, protection, wet coatings or overhead work may make the room unavailable. Ask which facilities can be used, at what stages, and when the room is fully released. Do not base household plans only on how long someone expects to spend installing board.
Consider the timing of school, work and accessibility needs. A route that is acceptable for a contractor carrying tools may not suit every member of the household. Explain relevant needs before the schedule is agreed. The plan should provide suitable access and avoid depending on occupants stepping around active work or moving protection themselves to reach essential items.
If alternate bathroom arrangements are necessary, plan them around the complete sequence. Tile, plumbing and coating stages may continue after drywall finishing. Ask the responsible trades to identify the release point for each part of the room. A contractor leaving the site at the end of a visit does not necessarily mean the bathroom is ready for normal use.
Understand the visits between board installation and paint
Board installation is a visible milestone, but it is not the end of finishing. Joints, corners and fastener areas need their specified treatment. Compound application, drying, sanding and inspection can require separate visits. Primer may reveal minor corrections that need attention before the final coating. Agree on the intended finish rather than treating each return visit as an unexpected delay.
Drying depends on the materials and conditions. Turning the bathroom into a hot, damp space during the finishing stage can interfere with the planned process. Follow the contractor's and manufacturer's guidance for the products being used. Our guide to drywall drying before primer and paint explains why a surface that looks dry is not always ready for the next operation.
Ask for a sequence with dependencies, not an absolute promise that every room takes the same number of days. A small repair with clear access differs from new walls around several changed fixtures. Confirm which events could change the calendar, such as hidden damage or an incomplete trade handoff. That makes updates during the renovation more useful than a vague revised completion date.
Compare quotations at the same finish endpoint
A quotation for installed board is not equivalent to a quotation for painted walls. Ask whether the price includes support preparation, board, tape, compound, sanding, primer, paint and cleanup. Clarify which work belongs to the shower installer. The estimate should distinguish included tasks from assumptions and exclusions without requiring you to interpret trade shorthand.
Identify the repaint limits. A localized drywall repair may still need a broader painted area to produce a consistent appearance. A retained ceiling can also need preparation even when most new work is on the walls. If you are unsure how far paint should extend, the guide to repainting after drywall repairs helps frame that discussion before a price is agreed.
Discuss cost drivers in terms of work: difficult access, retained fixtures, many small returns, extensive damaged facing and repeated setup. Do not compare only room size or board price. Two bathrooms with similar dimensions may have very different preparation needs. A useful quote explains those differences and names the finished result you can expect to inspect.
Check the prepared wall under the intended lighting
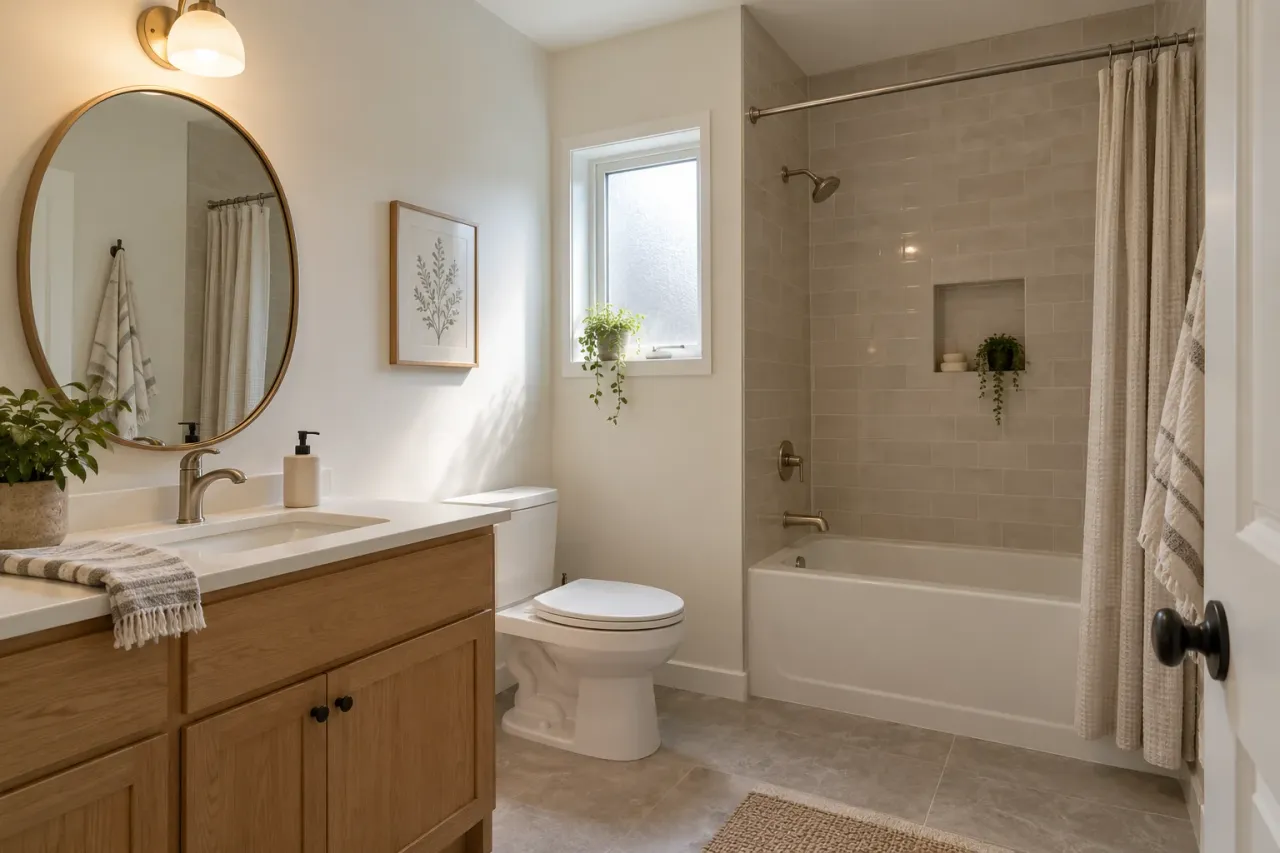
Bring the planned vanity light and other fixtures into the discussion early. Side lighting can reveal a ridge at a repaired edge that is less noticeable under a temporary bulb. The finisher should know the intended surface appearance and paint sheen. Review the work under representative conditions, rather than judging it only from the doorway before the final lights are considered.
Look for consistent transitions around the mirror, tile and trim. A smooth centre does not make up for a visible edge at the retained wall. If a correction is needed, identify it before finish paint where possible. The purpose is to settle workmanship questions at the stage where they can be addressed efficiently, not create a surprise list after every trade has left.
Keep appearance and assembly questions separate. A good-looking wall does not prove that hidden work was completed correctly, and a documented backing specification does not guarantee an even painted finish. Ask for the relevant checks at each stage. That gives you a more useful record than a single statement that the bathroom is done.
Book the Mississauga scope that matches your room
EPF's Mississauga drywall installation page is the next step for new board and broader renovation work. Send photographs of the current room alongside the proposed layout and confirmed trade requirements. Identify whether the project involves a house, townhouse or managed building and explain any delivery constraints. This information helps establish the installation scope and makes the quotation easier to compare with the other renovation work.
Before booking, gather a doorway view, one photo of each wall, a ceiling photo and close-ups of damage. Add the room dimensions and a short list of what stays and what moves. Include the selected shower-system information if known. These details allow the estimate to separate straightforward visible work from conditions that still need inspection.
Finally, agree who coordinates the sequence and how changes are communicated. A clear contact point helps prevent the drywaller arriving before access is ready or the painter arriving before preparation is complete. Request an EPF bathroom drywall estimate with that information so the scope reflects your renovation, the surfaces you want to keep and the finish you want to live with.
FAQ
What photos help with a Mississauga bathroom drywall quote?
Include a doorway view, each wall, the ceiling, close-ups of damage and the route to the room. Identify fixtures that stay and surfaces that will receive paint or tile so the estimate reflects the whole renovation.
Should I book drywall before choosing the vanity?
Discuss timing early, but finalize dimensions, positions and relevant support requirements before closing the wall. Late fixture changes can require additional openings and repairs.
Can I use my bathroom during drywall work?
That depends on the work stage, protection, access and other trades. Agree a room-use plan before starting, especially if it is the only bathroom. Connected plumbing alone does not establish that the room is available.
Does the drywall quote include shower waterproofing?
Only if the written scope specifically includes it. Identify the responsible installer, required backing and handoff point rather than assuming all bathroom work is included in one trade quotation.
Why can a small bathroom need several visits?
Preparation, joint treatment, drying, sanding, primer checks and painting occur in stages. Access constraints and coordination with other trades can also affect the calendar.
Drywall service pages and guides
Plan the Right Drywall Service Next
Field Photos
Bathroom planning illustrations
Article Review
AuthorEPF Pro Services
Reviewed byEPF Pro Services
UpdatedOctober 18, 2026
Plan your drywall scope
Get a drywall quote today
Share photos, room sizes, and timing. We reply the same day with Mississauga drywall availability and a clearer written scope.
Quick next step