
Popcorn Ceiling Removal With Pot Lights in Grimsby
Updated May 19, 2026
Grimsby guide to popcorn ceiling removal with pot lights, including electrical sequencing, patch rings, skim coating, lighting, and quote scope.
- Trusted since 2005
- Fully insured
- Dust-controlled sanding
- Paint-ready finishing
- 3-year workmanship warranty
Quick Answer
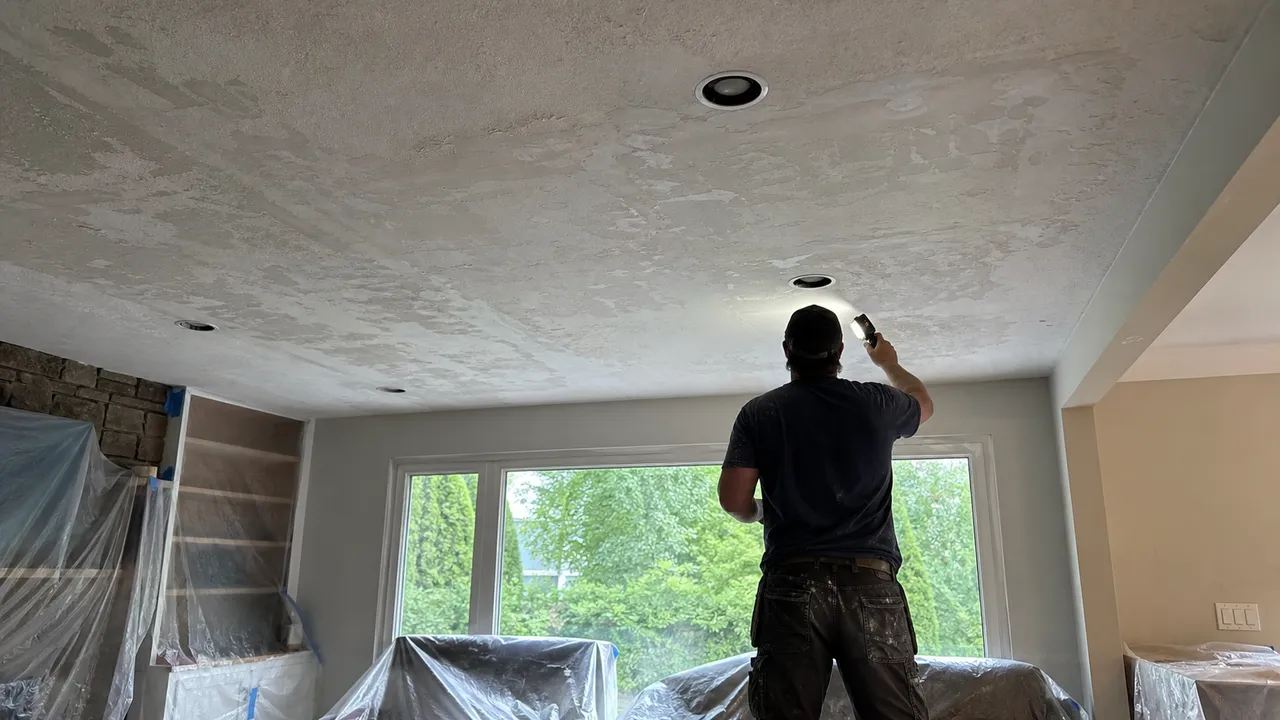
Popcorn ceiling removal with pot lights in Grimsby should be sequenced around the final light layout. Electrical work should be settled before final skim coating, primer, and paint so new holes and patch rings do not damage the finished ceiling.
Popcorn ceiling removal with pot lights in Grimsby should be sequenced around the final light layout. Electrical work should be settled before final skim coating, primer, and paint so new holes and patch rings do not damage the finished ceiling.
If you are comparing options, start with professional popcorn ceiling removal and the local Grimsby popcorn ceiling removal service page. This guide focuses on the specific quote decision behind popcorn ceiling removal with pot lights Grimsby.
Quick answer for Grimsby homeowners
Popcorn ceiling removal with pot lights in Grimsby should be planned as one sequence, not as separate jobs that overlap badly. If the ceiling is finished first and lights are cut afterward, the room may need new patches, more sanding, and another paint pass.
Pot lights make ceiling finishing less forgiving because they shine across the surface. A small ridge, patch ring, or skim-coat lap mark can look minor in daylight and obvious at night. That is why the quote should include the finish standard needed under the lighting the room will actually use.
Grimsby projects often involve lake-area condos, townhomes, older family houses, and smaller rooms where storage and staging space are limited. The ceiling plan needs to respect occupied homes, tight access, and bright rooms that can expose finish flaws.
Electrical work should be handled by the proper licensed electrical trade where required. Once openings and fixture locations are final, the ceiling crew can repair, skim, sand, prime, and paint around the settled layout. That order reduces rework and protects the finished surface.
| Situation | What it usually means | Quote item to confirm |
|---|---|---|
| Adding new pot lights | New openings and fixture positions should be settled before final finishing. | Confirm licensed electrical work and repair sequence. |
| Existing pot lights | Low-angle light can show sanding marks and old patch rings. | Confirm Level 5-style finishing where light is harsh. |
| Old centre fixture removal | The old box or fixture shadow may need broader feathering. | Confirm patch repair, skim coating, primer, and paint boundary. |
| Painted texture plus pot lights | Hard removal and strong light make defects easier to see. | Confirm testing, full skim coat, sanding, and primer checks. |
What Grimsby homeowners should confirm before booking
For popcorn ceiling removal with pot lights Grimsby, the quote should explain the complete path from protection to final paint. Ask whether the number includes room setup, texture testing, removal or surface preparation, drywall repair, skim coating, sanding with dust control, primer, flat ceiling paint, cleanup, and exclusions.
For Grimsby, send room sizes, ceiling height, whether the home is near a tight condo or townhouse access point, and photos of any stains, patch lines, or painted texture.
Do not compare quotes only by the total. One quote may include scraping only. Another may include the finished smooth ceiling. Those are different scopes. The better comparison is room by room, line by line, with the finish expectation written clearly.
How the local project usually flows
The work usually starts with protection. Floors, walls, vents, lights, furniture, doorways, cabinets, and traffic paths need to be protected before the ceiling is disturbed. Then the ceiling is tested so the crew can decide whether scraping, controlled removal, skim coating, or a blended method is the right approach.
After removal or prep, the ceiling is inspected. Old texture can hide seams, nail pops, torn drywall paper, stains, fixture patches, and uneven board joints. Those issues need repair before skim coating. Skipping repairs may make the quote cheaper, but it usually weakens the finished ceiling.
The finishing stage is where the smooth look is created. Compound is applied in controlled passes, given time to dry, sanded cleanly, primed, checked again, and painted if paint is included. The schedule depends on ceiling condition, humidity, room access, and how much finish quality the room needs.
Local finish expectations in Grimsby
Nearby West Niagara scheduling can also affect timing, so it helps to mention if the work must coordinate with flooring, painters, listing photos, or a move-in date.
Main rooms usually deserve the most careful finish because they get the strongest light and the most attention. Secondary bedrooms and lower-traffic rooms may be more forgiving, but they still need a stable surface, clean sanding, primer, and a clear paint plan.
If the home is occupied, phasing may be part of the plan. Some homeowners prefer one larger project so the mess is handled once. Others prefer room-by-room scheduling. The right answer depends on furniture, pets, work-from-home needs, condo or townhouse rules, and whether the home is being prepared for sale.
Cheap quote comparison
A cheap popcorn ceiling quote may be useful if the scope is honest, but it becomes risky when the missing steps are not explained. Ask what happens after scraping. Ask whether the quote includes full skim coating or only spot patching. Ask whether primer and paint are included. Ask how sanding dust is controlled and how the room is cleaned before paint.
The finished ceiling is judged after everything is back in place. Daylight, pot lights, flat paint, and long sightlines can expose weak repair work. Paying only for removal can leave the homeowner with a ceiling that still needs a second contractor to finish properly.
Photos to send for a clearer estimate
Send one wide photo of every room, one close photo of the texture, and photos around lights, vents, ceiling fans, bulkheads, skylights, crown moulding, stains, cracks, and old patches. Include rough dimensions, ceiling height, whether the home is furnished, and whether the popcorn has likely been painted.
If timing matters, include that too. Listing photos, flooring installation, cabinet delivery, electrician visits, painter schedules, and move-in dates can all affect how the ceiling work should be sequenced.
Why the ceiling condition changes after work starts
A Grimsby ceiling can look predictable before the first test patch and still reveal extra work once the texture is disturbed. Popcorn texture hides surface defects well. It can hide old tape seams, poorly feathered fixture patches, small water stains, nail pops, settlement cracks, torn drywall paper, and uneven board joints. Once the texture is removed or skimmed over, those hidden conditions become part of the finished ceiling scope.
This is one reason a responsible quote should explain assumptions. If the quote includes normal minor repairs, it should say that. If larger water damage, soft drywall, active leaks, asbestos testing, electrical work, or major patch reconstruction are excluded, that should also be clear. Clear exclusions are better than vague promises because they help the homeowner compare the real scope.
The finish also changes as materials dry. A fresh skim coat can look acceptable before primer, then reveal small scratches or lows once sealed. Primer is not only a coating step. It is also an inspection step. Good ceiling work leaves room for touch-ups after sanding and primer because smooth ceilings are judged under real room lighting, not only under jobsite conditions.
Paint, primer, and flat ceiling finish
Primer matters because fresh joint compound is porous. If flat ceiling paint is applied directly over raw skim coat or repairs, the surface can absorb paint unevenly and create flashing. Flashing can make one area look dull, shiny, cloudy, or slightly different even when the paint colour is correct. A proper primer step helps seal the surface so the finish coat reads more evenly.
Flat ceiling paint is usually the safest finish because it reduces reflection. A shiny ceiling finish can make small imperfections more obvious, especially where daylight or pot lights hit across the surface. Paint cannot hide poor sanding, raised patch edges, or wavy skim coating. The surface has to be right before paint is expected to look right.
In Grimsby, this is especially important when ceiling work is paired with newer flooring, updated kitchens, fresh wall paint, or trim upgrades. The ceiling becomes part of the overall renovation quality. If the ceiling still shows old patch lines or texture shadows, the room can feel unfinished even when everything below the ceiling looks new.
Dust control and living in the home during work
Ceiling work creates two kinds of mess. The first is heavier debris from texture removal, scraping, loose compound, and old paint. The second is fine dust from sanding repairs and skim coats. Fine dust is usually what homeowners remember because it travels, settles on trim and shelves, and can interfere with primer or paint if cleanup is rushed.
A better dust plan starts before sanding. Rooms should be isolated where possible, vents protected, traffic paths planned, and furniture moved or covered. Sanding should be controlled, and cleanup should happen before primer. If the home is occupied, the crew should explain which rooms are unavailable, where materials will be staged, and what the room should look like at the end of each workday.
The right dust plan depends on the building type. In Grimsby, a detached home may allow easier staging but more ceiling square footage. A condo or townhouse may have tighter access, shared corridors, and less room to move furniture. Both can be handled, but they should not be priced as the same working condition.
DIY limits and when professional help makes sense
Some homeowners consider removing popcorn texture themselves because the visible task seems simple. The difficult part is rarely the first scrape. The difficult part is protecting the room, controlling dust, avoiding drywall paper damage, repairing what the old texture hid, skim coating overhead, sanding evenly, priming correctly, and making the ceiling look smooth after paint.
DIY becomes riskier when the ceiling is painted, high, damaged, located in a main room, affected by water stains, connected to pot-light work, or possibly old enough to raise asbestos questions. In those situations, mistakes can create more repair work than the original ceiling had. A professional scope is often less about speed and more about controlling the chain of steps from testing to final paint.
If the homeowner still wants to compare DIY and professional options, the honest comparison should include materials, protection, tools, disposal, sanding cleanup, primer, paint, repair time, and the risk of redoing a visible ceiling. A ceiling that looks rough after paint often costs more to correct than it would have cost to finish properly the first time.
How this guide fits into ceiling project planning
This Grimsby guide is useful because homeowners rarely make the decision from one generic page. They usually compare painted texture, condo or townhouse logistics, pot lights, asbestos testing, skim coating, timeline, and quote scope before they ask for pricing. Each of those questions affects whether the final ceiling looks clean or still looks patched.
The main service page explains the overall popcorn ceiling removal service. The city page explains local availability and service area. This article handles one buyer-intent question in detail so the homeowner can request a better quote and avoid comparing incomplete scopes.
For homeowners, the practical takeaway is to ask better questions before booking. These related ceiling guides connect the decisions that usually affect the quote: removal method, finish level, dust control, repair planning, safety checks, and quote comparison. That makes the content useful rather than isolated.
Pre-quote checklist
Before asking for a Grimsby quote, gather the room list, rough dimensions, ceiling height, building type, furniture limitations, and a note about whether the popcorn looks painted. Add wide photos, close texture photos, and photos of any stains, cracks, pot lights, vents, ceiling fans, crown moulding, bulkheads, or old repair areas.
If the home is older or the ceiling history is uncertain, mention that before removal is discussed. If pot lights are planned, include the electrical timeline. If the home is being prepared for sale, include the target photo or listing date. If the home is occupied, explain which rooms must stay usable.
Those details help the contractor recommend the right path: scrape where the ceiling releases cleanly, skim where the texture is stubborn, repair defects before primer, and finish the ceiling to the level the room actually needs.
Final decision framework
The best decision is the one that matches the ceiling condition, the room use, the lighting, and the finish expectation. A simple secondary bedroom may not need the same scope as a bright open-concept main floor. A painted ceiling may need a different method than an unpainted ceiling. A condo may need more logistics planning than a detached house. A room with pot lights may need more finishing than a room with soft light.
For Grimsby homeowners, the safest approach is to define the finished result first. If the goal is only to reduce texture in a low-priority area, the scope may be simpler. If the goal is a modern smooth ceiling in a visible room, the quote should include the full chain: protection, testing, removal or prep, repair, skim coating, sanding, primer, flat ceiling paint, and cleanup.
It also helps to decide what success looks like before work starts. Some homeowners are comfortable with a practical paint-ready ceiling in secondary rooms. Others want the main floor to look clean under daylight, evening pot lights, and real estate photos. Those expectations should be discussed before pricing because they change the finish level, the number of skim-coat passes, the inspection time, and the final paint plan.
Bottom line for Grimsby
The right Grimsby popcorn ceiling plan is not just about getting texture off the ceiling. It is about choosing the method, controlling dust, repairing the exposed surface, skim coating where needed, sanding cleanly, priming properly, and finishing the ceiling so it still looks smooth under real room light.
FAQ
Should pot lights go in before popcorn ceiling removal in Grimsby?
The layout and required electrical work should usually be settled before final skim coating, primer, and paint so the finished ceiling is not cut open later.
Do pot lights make ceiling flaws more visible?
Yes. Pot lights can cast light across the ceiling and reveal ridges, sanding marks, patch edges, and uneven skim coating.
Can old fixture holes be hidden after popcorn removal?
Usually, but they need proper drywall repair, wider feathering, skim coating, primer, and paint. A narrow patch can leave a visible ring.
Who should handle the electrical work?
Electrical work should be handled by a licensed electrician where required. The ceiling crew can then repair and finish around the final openings.
Related local pages and guides
Keep Planning Your Project
professional popcorn ceiling removal
Main service page for removal, skim coating, dust control, primer, and paint.
Grimsby popcorn ceiling removal
Local smooth-ceiling service page for Grimsby homes, condos, and townhomes.
Hamilton popcorn ceiling removal
Nearby service page for larger Hamilton-area ceiling projects.
Popcorn Ceiling Removal With Pot Lights in Mississauga
Related Mississauga guide in the same popcorn ceiling topic cluster.
taking off popcorn ceiling
Step-by-step guide to protection, testing, repair, smoothing, primer, and paint.
Level 4 vs Level 5 finish after popcorn removal
Finish-level comparison for smooth ceilings under daylight and pot lights.
request a popcorn ceiling removal quote
Send photos, room sizes, ceiling height, and timing for a clearer written scope.
Field Photos
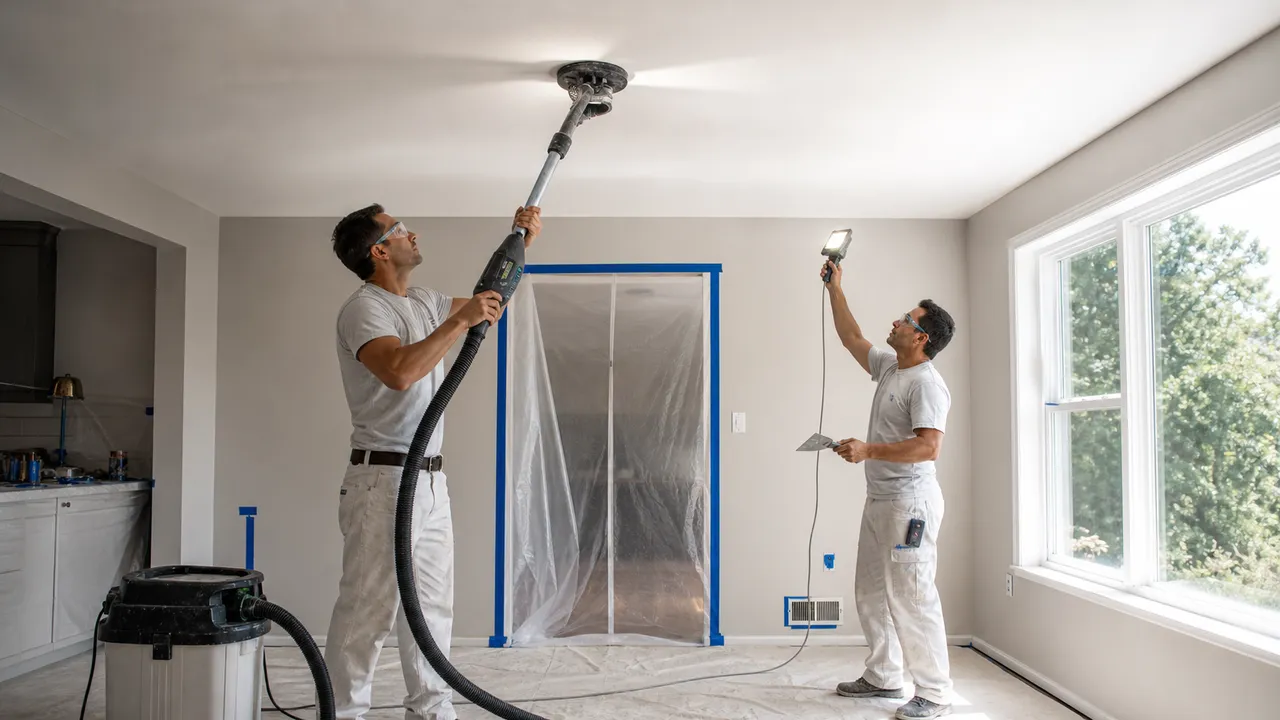
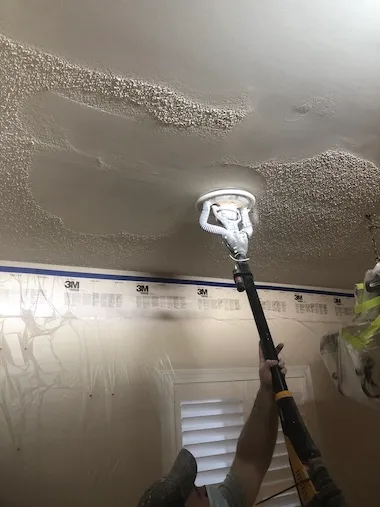
What the Work Can Look Like
Article Review
AuthorEPF Pro Services
Reviewed byEPF Pro Services
UpdatedMay 19, 2026
Ready to plan your ceilings?
Get a popcorn ceiling quote today
Share photos, ceiling heights, and timing. We reply the same day with Grimsby availability.
Quick next step