Drywall Installation Mistakes That Cause Uneven Walls Later
2026-04-05
Common drywall installation mistakes that lead to uneven seams, visible joints after paint, and expensive finish problems in Mississauga homes.
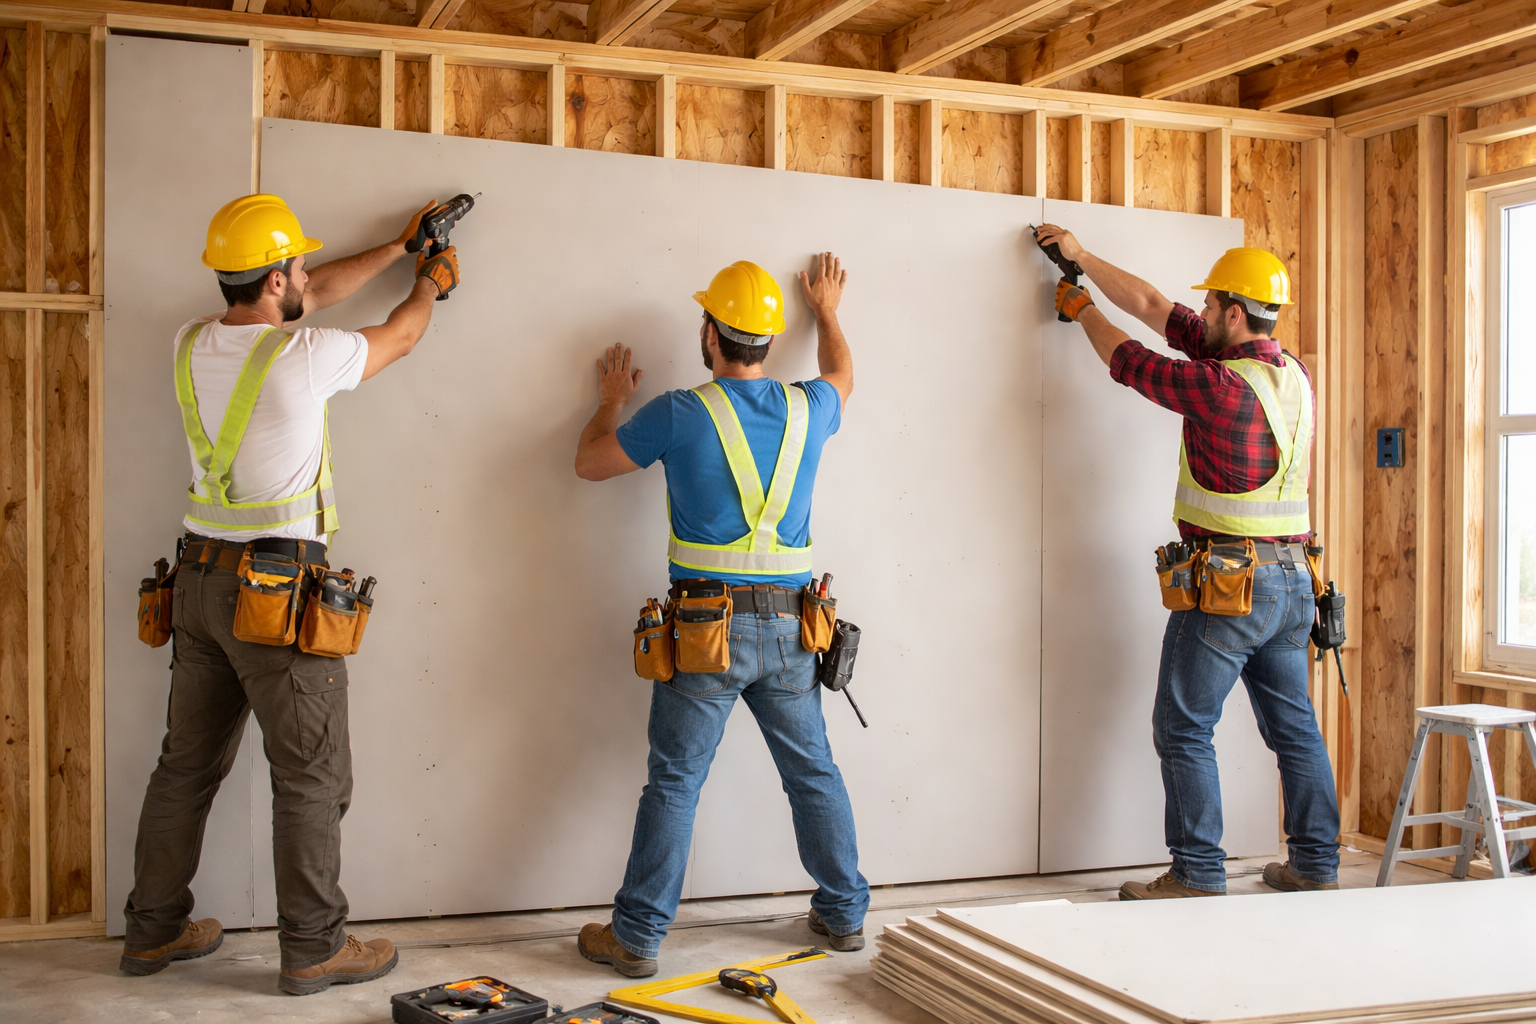
Many drywall installation mistakes do not look dramatic on day one. The room seems closed up, the sheets are on the wall, and the project appears to be moving. Then primer goes on, paint dries, daylight hits the wall, and the real problems show up: uneven drywall seams, joints that print through, corners that look soft, and walls that never read straight from one end of the room to the other.
That is why homeowners who search how to install drywall correctly often end up asking a better question: what installation decisions cause finish problems later? In Mississauga homes, basements, condos, and additions, a lot of drywall finishing problems are created before the taping and mudding stage even starts.
1. Intro: why drywall installation mistakes show up later
Drywall is a finish-sensitive trade. A board can be physically attached to a wall and still be wrong for the room. Slight framing variation, poor sheet layout, weak fastener placement, and rushed corner work might seem manageable while the material is raw. Once tape, compound, sanding, primer, and paint are added, those small issues become visible lines and shadows.
This is why drywall hanging mistakes and drywall taping and mudding mistakes are closely connected. The hanging stage sets the geometry. The finish stage can refine that geometry, but it cannot magically erase bad layout, poor backing, or movement in the wall assembly.
For homeowners, that delay between installation and visibility is what makes drywall so frustrating. The crew may be long gone before the painter, trim installer, or homeowner notices that a seam is reading through a wall, a corner looks swollen, or a ceiling line feels off. By then, fixing the issue is no longer just about hanging one sheet correctly. It can mean cutting sections back out, reworking finish coats, repainting, and paying twice for what should have been solved in the first pass.
This is also why a plain tutorial approach often misses the real problem. People are not only trying to learn how drywall goes up. They are trying to avoid the kind of mistakes that make a room feel cheap after a full renovation budget has already gone into framing, flooring, trim, lighting, and paint.
2. Mistake 1: poor framing or uneven substrate gets ignored
A straight finish starts behind the drywall. If studs are crowned, twisted, bowed, or out of plane, the sheets follow that shape unless the framing is corrected first. The same issue shows up when installers cover an uneven substrate, old plaster transition, or damaged ceiling without shimming, planing, or rebuilding the base.
This is one of the most common reasons walls look acceptable during installation but uneven after painting. The paint does not create the defect. It simply stops hiding it. On ceilings and long walls, even a small framing inconsistency can turn into a visible wave once light runs across the surface.
Older Mississauga homes are especially prone to this problem because the surfaces behind the new board are not always consistent. Basement walls may have been rebuilt in stages. Ceilings may have old repairs from plumbing access. Renovation framing can also inherit small errors when different trades work quickly through a room. If no one checks the plane carefully before hanging starts, the drywall ends up preserving all of those inconsistencies instead of correcting them.
- Check stud plane before hanging full sheets
- Shim low spots and correct obvious crowns before board goes up
- Rebuild unstable substrate instead of trying to bury it under compound
3. Mistake 2: sheet layout creates weak seams and awkward joints
Drywall sheets not lining up is often a layout problem, not just a cutting problem. When installers create too many short seams, stack joints carelessly, or place butt joints in the worst viewing areas, the room becomes harder to finish cleanly. The compound may hold, but the wall will often read as patchy or segmented after paint.
Good sheet layout reduces the number of problem seams, keeps joints in stronger positions, and avoids awkward transitions around doors, windows, bulkheads, and long ceiling runs. Bad sheet layout creates stress points, wasted labour, and more opportunities for joints showing after paint.
Homeowners usually notice this later as uneven drywall seams, visible butt joints, or walls that seem to have a faint grid under certain lighting.
Layout mistakes also make follow-up trades harder. Trim carpenters, painters, and even flooring installers tend to notice when a wall plane feels inconsistent around openings and room edges. A drywall job that was only planned around getting sheets onto the studs can create a chain of finish compromises later, especially in hallways, stairwells, and open-concept spaces where long sightlines make every joint more obvious.
4. Mistake 3: fasteners are placed incorrectly
Fastener spacing matters more than many DIY articles admit. Screws that are too deep break the paper face and weaken holding power. Screws that are too shallow sit proud and telegraph through finishing. Screws placed inconsistently can also let the board shift, especially on ceilings or around movement-prone framing.
Incorrect fastening is one reason drywall joints showing after paint can come with nail pops, small humps, or linear shadowing. The board may look attached, but it is not being held evenly across the surface.
This gets worse when installers try to compensate for bad framing by adding random extra screws instead of correcting the surface behind the board. More fasteners do not automatically create a flatter wall. In some cases they create more dimples, more paper damage, and more finishing work, all without solving the underlying alignment issue.
- Keep fasteners consistent and set them without tearing the paper
- Avoid overdriving screws around edges and corners
- Treat ceilings and high-visibility walls as less forgiving than utility-room surfaces
Mid-article CTA
If you are comparing a DIY plan against a cleaner contractor scope, review our drywall installation page to see what proper layout, finishing, and paint-ready handoff should include.
5. Mistake 4: gaps, butt joints, and corners are not handled properly
Some gaps are manageable. Large gaps, weak backing, loose corner bead, and badly planned butt joints are not. When corners are soft, seams land in poor spots, or board edges are left fighting each other, the finishing crew has to spend more time compensating for installation problems that should have been solved earlier.
This is where many drywall finishing problems begin. Excess compound gets used to bridge avoidable errors. Corners get built up too much. Butt joints become wide humps. The room may be technically finished, but it no longer has the crisp look most homeowners expect.
Corner beads also deserve more attention than they usually get in simple how-to content. If the bead is crooked, loose, or misaligned, the finished corner will keep drawing the eye no matter how carefully it is painted.
The same logic applies to inside corners and transitions at soffits, stair stringers, closets, and window returns. These are the places where a rushed installer often assumes the finisher will clean it up later. In reality, complicated transitions are where sloppy gaps and awkward geometry become most expensive to hide. If the shape is wrong early, every coat after that is just an attempt to disguise it.
6. Mistake 5: installation is rushed without thinking about finishing
A lot of people treat hanging drywall and finishing drywall as separate trades with no overlap in thinking. In reality, good installers work backward from the final look. They think about taping, mudding, sanding, trim transitions, critical light, and paint-readiness while they are still setting the sheets.
Rushed installation usually means the room gets boarded as fast as possible, then someone else is expected to fix the consequences with mud. That is how awkward seams, messy cutouts, bad corner geometry, and swollen butt joints get normalized. It is also why homeowners sometimes feel confused after hearing that the problem is in the finishing when the real cause started in installation.
This is the core difference between a boarded room and a finished room. A boarded room is simply closed in. A finished room is planned so the final paint, trim, and lighting have a clean surface to work with. That requires the installer to think about where the eye will go, where the light will hit, and what details will be impossible to hide later. When that planning step is skipped, the project often turns into a slow series of touch-ups instead of a clean handoff to the next trade.
A reliable crew also knows when to pause instead of pushing ahead. If rough-ins are still changing, if framing corrections are unfinished, or if moisture concerns remain unresolved, the best move is not to hang board faster. It is to stop the sequence from getting more expensive.
7. Mistake 6: moisture-prone areas get the wrong drywall type
Bathrooms, basements, laundry areas, and other moisture-sensitive spaces need the right board for the exposure level. Using standard drywall where a moisture-resistant product makes more sense can shorten the life of the assembly and create finishing instability if the room sees humidity swings or minor moisture events.
This does not mean every basement or bathroom needs the same panel. It means the board type should match the room, the ventilation, and the actual use. Choosing the wrong drywall type is less visible on install day, but it can contribute to swelling, joint stress, and premature finish failure later.
Basements are a common example because many homeowners think of them as just another finished room once framing is in place. But a basement can still have different humidity behavior, colder perimeter walls, and a higher risk of future moisture events than an upper-floor bedroom. In bathrooms, the concern is often repeated steam and poor ventilation. The right board choice does not replace proper waterproofing or room design, but it does affect how stable the final drywall system remains over time.
8. Mistake 7: walls are painted before the finish is truly ready
Painting too early is one of the fastest ways to make a tolerable drywall job look bad. If compound has not fully dried, if sanding scratches remain, if the surface was not checked under real lighting, or if primer was rushed, paint amplifies the problems instead of hiding them.
This is why so many homeowners say the drywall looked fine until it was painted. Primer and topcoat change how the surface reflects light. That is when minor ridges, lap marks, joint buildup, and surface waviness become much easier to see.
If you want to know how to install drywall correctly, the answer includes knowing when not to paint yet. A wall is only paint-ready when the finish is flat, dry, stable, and checked under the lighting conditions the room will actually have.
Flat paint, LED pot lights, long hallway views, and large windows all make this stage more unforgiving. A wall that looks passable under temporary work lights can suddenly look uneven once the room is fully lit and the finish paint is on. That is why careful crews inspect surfaces under stronger and more realistic lighting before calling them done. Painting early does not save time if it forces sanding, touch-ups, and repainting afterward.
9. Table: mistake / what it causes / best fix
| Mistake | What it causes | Best fix |
|---|---|---|
| Ignoring uneven framing or substrate | Wavy walls, ceiling lines that read crooked, visible plane changes after paint | Shim, plane, or rebuild the base before hanging sheets |
| Weak sheet layout | Awkward joints, weak seams, drywall sheets not lining up cleanly | Rework layout to reduce bad butt joints and poorly placed seams |
| Incorrect fastener placement | Pops, humps, loose board, shadowing after paint | Reset or replace fasteners and maintain proper spacing |
| Bad gap, corner, or bead handling | Soft corners, built-up joints, visible edge lines | Correct backing, reset bead, and rebuild the joint properly |
| Rushing into paint | Drywall joints showing after paint, sanding marks, flashing | Let the finish fully dry, inspect carefully, then prime and paint |
| Wrong drywall type in moisture-prone rooms | Swelling, joint stress, shorter finish life | Use the board type that matches basement or bathroom conditions |
10. When DIY drywall installation stops making sense
DIY drywall can still make sense for a simple low-visibility room with forgiving lighting, practical expectations, and enough time to learn the process carefully. It starts making less sense when the room has long walls, ceilings, bulkheads, tricky corners, modern flat paint, or any area where finish quality matters more than just getting the surface closed in.
It also stops making sense when you are already compensating for framing issues, layout problems, or repeated rework. By the time someone is fighting crooked seams, swollen butt joints, and sanding dust across multiple return visits, the job is usually no longer about saving money. It has turned into finish-risk management.
Another clear sign is when the project starts affecting the rest of the renovation schedule. If painters are waiting, trim work is being delayed, or the room cannot move into final finishing because the drywall still needs correction, the cost of DIY mistakes stops being theoretical. It shows up in real time, real labour, and real disruption. That is often the point where hiring a specialist becomes the cheaper decision overall.
11. Professional drywall installation in Mississauga
For homeowners in Mississauga, the real value of professional installation is not just speed. It is sequencing, layout control, cleaner corners, better fastening, and a finish plan that holds up after primer and paint. That matters in basements, condo renovations, main-floor remodels, and any room where straight walls and ceilings affect the overall look of the space.
A professional scope should make clear what is being checked before hanging begins, what finish standard is expected, how seams and corners are being handled, and what paint-ready actually means. It should also explain when partial repair makes sense versus when replacement and reinstallation are the cleaner option. That clarity is part of what homeowners are really paying for. They are not just buying labour. They are buying fewer surprises after the room is finished.
In practice, that means straighter layout decisions, cleaner transitions at openings, more disciplined control of butt joints and fasteners, and a better handoff to the painter. Those details rarely look exciting during the job. They matter because they are what stop the room from reading as amateur once everything is complete.
End CTA
If your project needs straighter layout, cleaner seams, and a finish that still looks right after paint, book drywall installation and use the main hub to compare the right city and project scope for your home, basement, condo, or rebuild.
12. Conclusion
Most drywall problems that frustrate homeowners later are not random. They come from predictable installation mistakes: ignoring framing alignment, creating poor sheet layout, misplacing fasteners, handling corners badly, choosing the wrong board, and painting before the finish is truly ready.
If the goal is a wall that looks smooth only from six feet away, many methods can seem acceptable. If the goal is a room that still looks clean in daylight, under pot lights, and after paint cures, the installation stage has to be handled with the finish in mind from the start.
FAQ
What is the most common drywall installation mistake?
Ignoring framing alignment is one of the most common drywall installation mistakes. If studs or the substrate are out of plane, the finished wall often looks wavy later even if the hanging and finishing were otherwise decent.
Why do drywall joints show after painting?
Drywall joints often show after painting because of poor sheet layout, built-up butt joints, weak fastening, rushed sanding, or paint applied before the finish was fully ready. Paint changes how light reflects off the wall, so hidden flaws become easier to see.
Can uneven drywall be fixed after installation?
Sometimes yes, but it depends on the cause. Minor finish defects can often be corrected with rework, while larger problems caused by bad framing, weak layout, or badly set board may require partial removal and rebuilding instead of more mud.
What type of drywall should be used in basements or bathrooms?
Basements and bathrooms usually need drywall selected for the room's moisture conditions, ventilation, and use. The right choice depends on the specific space, but the main point is to avoid treating all rooms like standard dry living areas.
When should I hire a professional drywall installer?
Hire a professional drywall installer when the room has ceilings, long walls, bulkheads, critical lighting, moisture concerns, or a finish standard where visible seams after paint would be unacceptable. Those projects are much less forgiving than a simple utility-room board job.
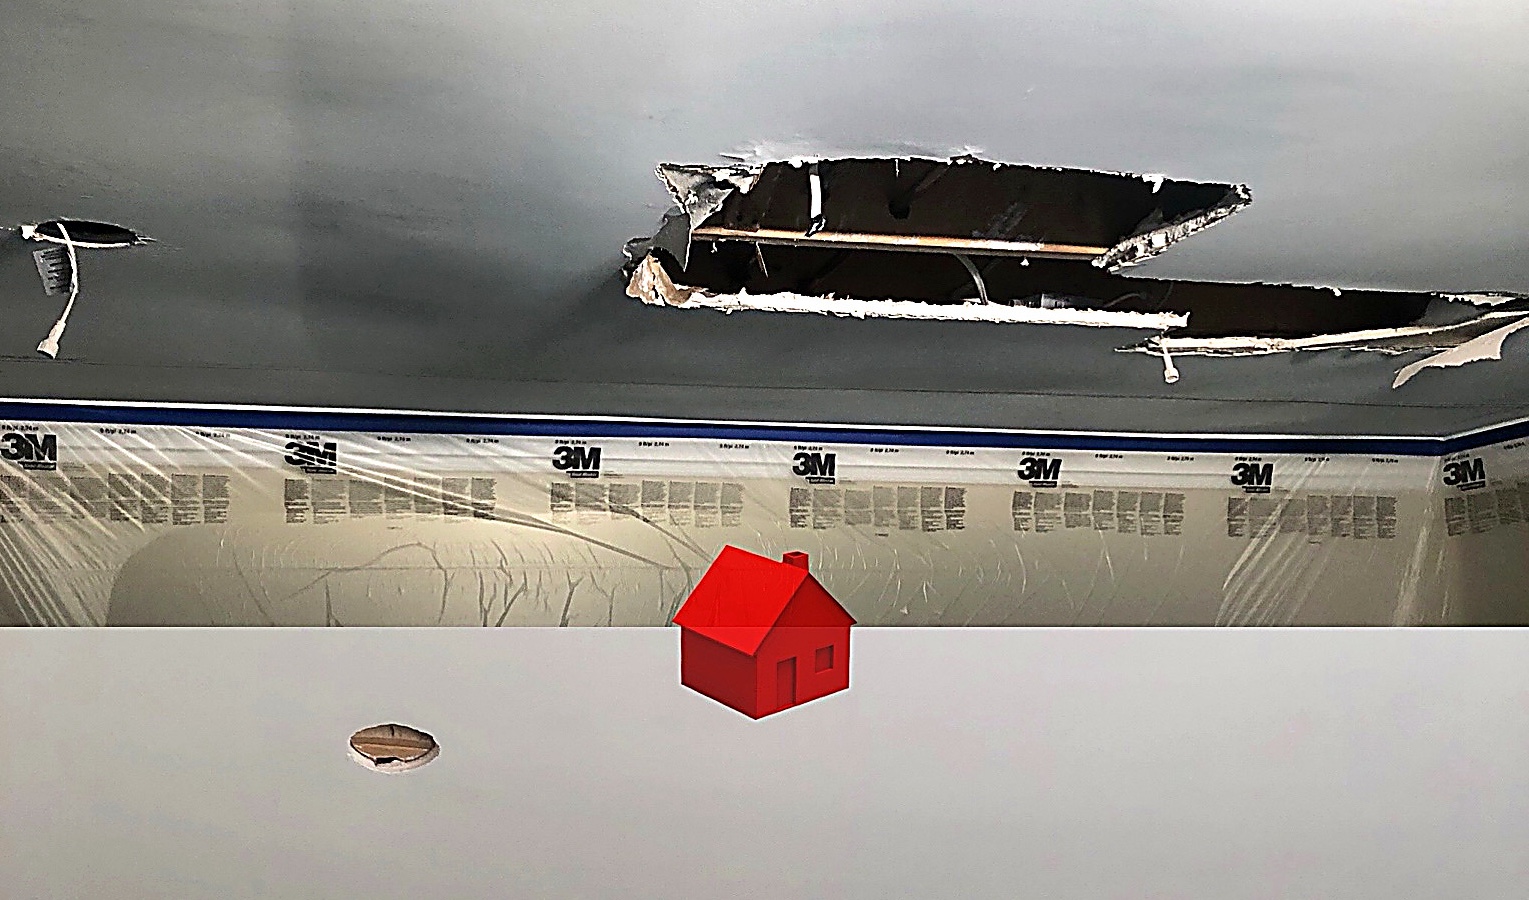
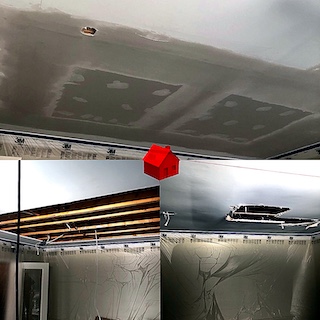
Field photos
Inspiration for your project

Drywall terms this page covers
Useful terms to compare scopes, finish levels, and scheduling before you book.
- drywall installation mistakes
- how to install drywall correctly
- drywall hanging mistakes
- uneven drywall seams
- drywall sheets not lining up
- drywall finishing problems
- drywall installation Mississauga
- professional drywall installation
- drywall taping and mudding mistakes
- drywall joints showing after paint
Plan your drywall scope
Get a drywall quote today
Share photos, room sizes, and timing. We reply the same day with GTA drywall availability and a clearer written scope.
• Clear finish-level scope and drywall sequencing
• Basements, ceilings, condos, and commercial buildouts
• Flexible scheduling for occupied homes, condos, and active sites
Quick next step
Send photos and room sizes through the main quote page, or call for a same-day reply.
Keeping the form on the main quote page helps this article stay lighter and faster.