
Basement Drywall Taping and Mudding in Oakville (2026): Choosing the Right Finish
Updated September 11, 2026
For Oakville basement drywall taping and mudding, EPF’s 2026 planning range is CAD $1.75–$3.50 per sq. ft. of drywall surface before HST and extras. Compare lighting, finish levels, and the painting handoff before choosing a taper.
- Trusted since 2005
- Fully insured
- Dust-controlled sanding
- Paint-ready finishing
- 3-year workmanship warranty
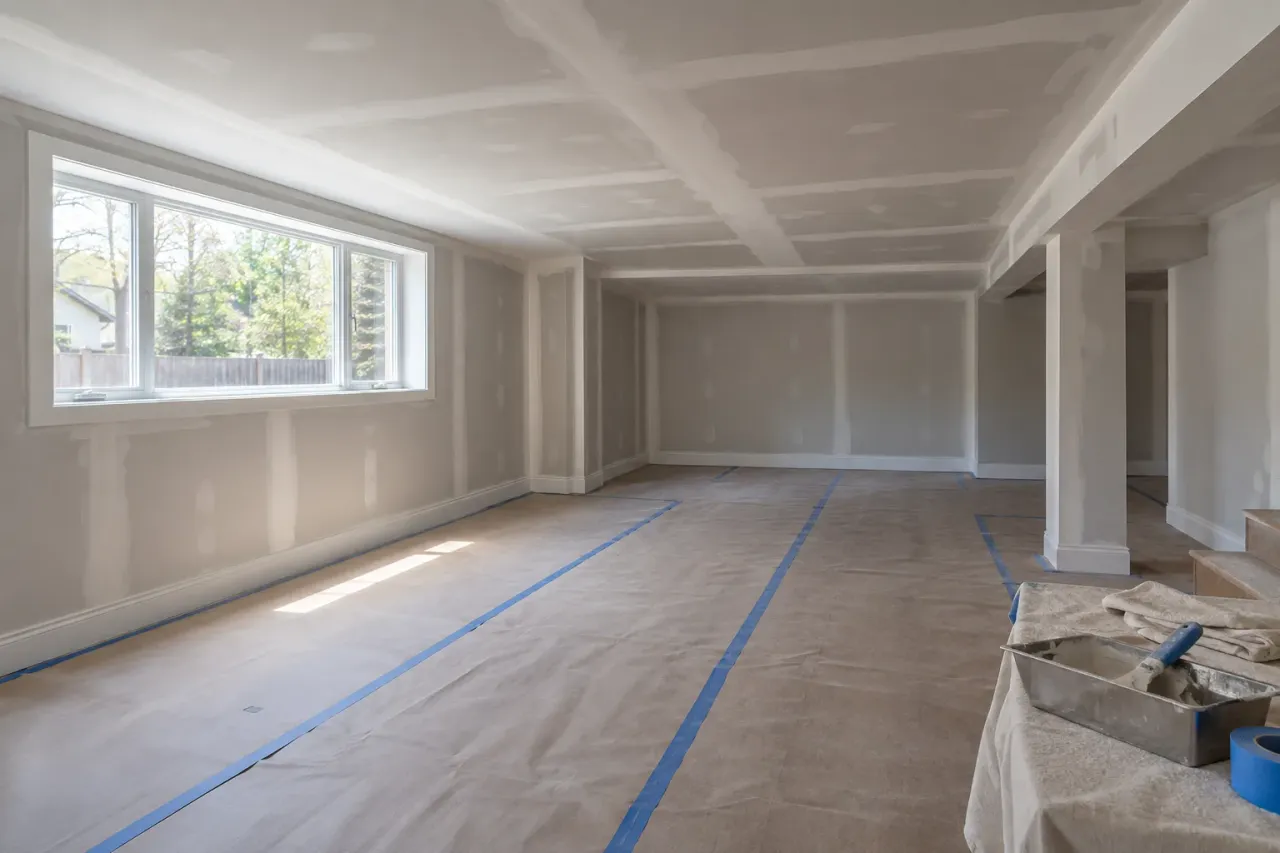
Quick Answer
For EPF’s 2026 planning range, allow about CAD $1.75–$3.50 per sq. ft. of actual drywall surface for standard finishing on ready board, before HST and extras. A basement does not automatically need Level 5 finishing. Start with the planned lighting and paint, inspect the installed board, then specify the finish for each wall and ceiling. Wide joint blending, careful sanding, primer, and a clear touch-up handoff matter alongside the finish-level label.
Basement drywall taping and mudding in Oakville should start with a finish decision, not just a count of compound coats. A recreation room with side light can reveal seams differently from an enclosed storage room. Our Oakville drywall installation and finishing service can assess the board, lighting, and decorating plan together so the quote describes the result you need.
If you have already chosen a wall colour or ceiling lights, bring those decisions into the conversation now. They affect how the completed surface will be seen. At EPF Pro Services, we would rather discuss a demanding wall before finishing starts than have the homeowner discover it after the furniture and television are installed.
2026 basement taping and mudding cost range in Oakville
Use CAD $1.75–$3.50 per sq. ft. of measured wall and ceiling surface as EPF’s preliminary 2026 planning allowance for standard Level 4 taping, mudding, and sanding on sound, already-hung drywall. Allow roughly another $0.75–$1.50 per sq. ft. of the selected surface for Level 5 skim coating. These are EPF planning estimates, not a fixed quote or a claim about the average price charged by other local contractors.
Standard finishing allowance
CAD $1.75–$3.50 per sq. ft. of actual drywall surface; sound board ready for joint treatment.
Additional Level 5 allowance
Add CAD $0.75–$1.50 per sq. ft. of the area receiving a full skim coat; not the basement floor area.
640 sq. ft. room surfaces
$1,120–$2,240 calculated at the standard allowance, before HST, minimum charges, or project-specific extras.
Confirm before booking
Board supply and hanging, corrections, primer, paint, unusual access, extra phase visits, and any separate protection or disposal charges are outside these calculations.
The hypothetical 12-by-16-foot room described below has 640 sq. ft. of walls and flat ceiling before opening deductions. At the standard allowance, finishing works out to $1,120–$2,240. Skimming all 640 sq. ft. at the additional allowance adds $480–$960; a ceiling-only upgrade is calculated on the ceiling area instead.
The baseline assumes finishing labour and normal tape and compound materials. Ask the estimator to confirm materials, corner treatment, dust control, ordinary cleanup, and any minimum charge in the written total. The final scope and site conditions determine the written quote, which can fall outside this planning range. The same EPF planning range is used across these guides; no automatic city premium is assumed.
Hiring a basement drywall taper in Oakville
If the board is already installed, ask for a finishing-only scope rather than a price for a complete basement renovation. Identify the main ceiling and the walls affected by side light. A useful proposal separates ordinary joint finishing from any full-surface skim coating so you can see what the upgrade changes.
Our Oakville drywall contractor services explain the local service options. Use the room details in this guide to request the specific installation, repair, or finishing scope you need.
What to put in your quote request
Include the basement dimensions, whether all board is installed, the ceiling area to be finished, the planned paint sheen, and the walls you want assessed for Level 5. Ask for standard finishing and the selected skim-coat option as separate amounts, with primer and touch-ups identified.
Choose the finish around the room, not the basement label
Soft lighting and flat paint
Discuss a properly executed Level 4 finish, suitable primer, and a clear inspection standard.
Light travelling along a wall
Review joint placement, broad blending, and whether a whole-surface skim coat is appropriate.
A long uninterrupted ceiling
Include the ceiling plane, bulkhead edges, and planned fixtures in the finishing assessment.
Closets and less visible areas
Specify an appropriate finish separately instead of assuming every surface needs the same upgrade.
This is a decision checklist, not a promise that one finish level will hide every imperfection. A room can contain several different viewing conditions. The wall facing a small window may be easy to finish, while the wall beside that window catches light along its length. A single overhead work lamp will not show both conditions equally.
Walk through the basement with the contractor and identify the main seating area, television wall, stair approach, and any office corner. These are ordinary planning choices, not luxury upgrades. They help the crew understand where long sightlines or directional lighting make surface consistency particularly important, and where a standard specification may be sufficient.
What Level 4 and Level 5 actually change
Level 4 involves a defined treatment of joints, interior angles, fasteners, and accessories. It should leave those areas properly finished and ready for the specified decorating preparation. It does not mean the entire face of every sheet receives a skim coat. A well-finished joint and an untouched paper surface can still respond differently under difficult lighting and paint conditions.
Level 5 adds a thin skim coat over the whole surface after the required joint work. It is intended to reduce surface differences, not to turn uneven framing into a straight wall. Where a panel is loose or a joint has a pronounced step, the base problem needs attention before an upgrade to the finish is considered.
The Level 4 versus Level 5 drywall comparison explains the broader choice. For this basement, ask which specific surfaces benefit from the additional work. A written allowance for the main ceiling may be more useful than a vague promise of premium finishing everywhere.
Avoid using a coat count as the sole acceptance test. A contractor can apply several coats poorly, or spend extra time correcting a difficult transition without changing the basic finish description. The quotation should identify the intended finish level, preparation for primer, and what will be checked before the next trade takes over.
Read the light before covering the joints
Daylight changes through the day. If possible, take a photograph when light runs along the most visible basement wall, then another when the room is more evenly lit. The point is to show the estimator how the surface behaves, not to create a collection of extreme flashlight photographs that bear no relation to normal use.
Artificial lighting also deserves a plan. Wall washers, fixtures close to a ceiling edge, and certain directional lamps can make small changes in the surface more visible. Share fixture locations with the finishing contractor. Electrical design and installation belong with the appropriate qualified trade; the taper needs the layout so finishing expectations are realistic.
Use a sample when the decorating choice is demanding
For a dark colour, unusual sheen, or strongly lit feature wall, discuss a sample finish before treating a large area. Agree on the sample location, primer, coating, and viewing conditions. A small colour card cannot demonstrate how joints, roller texture, and sheen will behave across a long wall. The sample should represent the system being proposed.
Record what you accepted and what the quote includes. If the paint selection changes later, tell the contractor before the final inspection. A finish agreed for a subdued flat wall may need another discussion when the homeowner switches to a more reflective coating. Clear communication is more useful than trying to argue about the word smooth after painting.
Straight board and broad seams come before fine sanding
New drywall can look ready for mud while still containing problems that make finishing harder. Uneven board edges, damaged face paper, and fastening issues should be assessed before tape hides them. Ask who will make any necessary corrections, especially if one contractor installed the board and another is completing the finishing.
Butt joints occur where square board ends meet. They lack the recess found at tapered edges, so the finishing has to spread the transition over a wider area. A narrow stripe of thick compound can leave a visible crown. The solution is not automatically aggressive sanding; the shape of the joint must be built correctly first.
A long wall with several awkward joints can take more care than its surface area suggests. That does not mean every seam should receive the same width of compound or that the homeowner should specify a knife size. It means the quote should allow the finisher to produce the agreed surface rather than rush every joint through an identical shortcut.
If the boarding is still being planned, the Oakville basement drywall installation guide covers the earlier decisions. Bringing installation and finishing expectations together can reduce avoidable correction work at the point when the room appears almost complete.
Contractor field note: do not sand away the specification
When a seam is raised, first determine whether the problem is a rough edge, a poorly shaped joint, or uneven board beneath it. Sanding harder is not a universal fix. Exposed tape or damaged paper introduces another repair before primer.
Ceilings, bulkheads, and the view from the stairs
A basement ceiling is often visible as one continuous surface from the stair landing. Small changes in height, boxed ductwork, and long corner lines can draw the eye. Include those details when reviewing a finish quote instead of treating the ceiling as a simple rectangle equal to the floor area.
Outside corners along a bulkhead need to remain straight through the finishing process. Building up one area excessively can make an otherwise tidy line look uneven. Inside corners also need a clean transition without accumulations of compound. Ask the crew to assess both the flat surfaces and the lines that connect them.
If some areas will remain open or use another ceiling system, mark that boundary before finishing is priced. Do not assume an allowance for the recreation room includes the stair ceiling, a storage alcove, or every small return. A few photographs taken from the stair approach can make these inclusions much clearer than a room name alone.
Price a ceiling upgrade separately from the walls
For an Oakville basement with a prominent ceiling and quieter side rooms, ask for a finish schedule by surface. A useful schedule names the recreation-room ceiling, main walls, stair wall and storage areas, then assigns the agreed finish to each. Attach the lighting and paint selections so the upgrade follows the room design.
In the 12-by-16-foot room example, the flat ceiling measures 192 square feet. At the additional EPF Level 5 planning range of CAD $0.75–$1.50 per treated square foot, upgrading that ceiling alone adds an illustrative $144–$288 to standard finishing. Upgrading all 640 square feet of wall and ceiling surface adds $480–$960. These are arithmetic allowances before HST, minimums, preparation and other extras; neither is a standalone skim-coating quote.
Ask the contractor to mark the upgrade boundary and state whether the sample, primer and correction visit are included. This lets you decide where additional finishing has a visible purpose without guessing from a single premium package price.
Compare the cost of the finish you are actually buying
Ask for the base finishing scope and any whole-surface skim coating to be identifiable in the estimate. This allows you to compare the cost of completing the room and the cost of selected finish upgrades. Board repairs, protection, sanding, cleanup, primer, and paint should also be included or excluded explicitly.
For a simple hypothetical measurement, a 12-foot by 16-foot room has 192 square feet of floor and flat ceiling area. At an 8-foot wall height, its 56-foot perimeter adds 448 square feet of wall surface before deducting openings. That is 640 square feet of walls and ceiling, not 192. This is a measuring illustration, not a customer project or price.
The measurement still does not capture every labour detail. Closets, window returns, corners, access, and corrections can change the work. Confirm whether a square-foot rate refers to actual drywall surface or another estimating method. Two prices are meaningful only when they reach the same finish on the same surfaces under the same assumptions.
For a broader installation-and-finishing estimate, use the main drywall installation service scope as the starting point. A tape-only quote should not be compared with one that also supplies and hangs the board.
Send the lighting as well as the walls
For a finish assessment, include wide room photos, ceiling pictures, rough dimensions, paint sheen, and the planned lighting positions. Mention any wall that looks uneven under daylight or any change of finish between rooms.
Drying and sanding without rushing the last coats
An attractive schedule should still allow the products to become ready for the next operation. Compound that has set is not necessarily dry enough for decoration. Application thickness and the conditions downstairs matter. Ask for a sequence of work stages and readiness checks rather than a completion promise based only on the label of a fast-setting product.
A heavy correction around one joint can be slower to dry than broad, thin finishing coats nearby. That area should not be hidden under another coat merely because most of the wall is ready. Tell the contractor about limited heating, condensation history, or other wet work in progress so the planned sequence reflects the actual room.
EPF uses dust-controlled sanding and HEPA vacuum support appropriate to the work. Capturing dust at the tool helps, but protection and cleanup remain necessary. Before sanding, agree on the route through the house, what furniture must be removed, and how adjacent finished spaces will be protected. No basement renovation is completely dust-free.
Primer is an inspection stage, not a disguise
Before primer, the crew should check for visible ridges, scratches, rough paper, pinholes, and exposed tape. Sanding dust needs suitable removal so the coating can be applied to a prepared surface. Primer does not fill a hollow seam or erase a raised edge. Those problems need finishing work, followed by the appropriate preparation again.
Primer can make remaining surface issues easier to see. Decide who returns for those corrections and whether the visit is in the price. If a separate painter is involved, give that person the same finish expectations. It is frustrating for a homeowner to discover that the taper considered the job complete while the painter expected another correction stage.
Coordinate interior painting after basement drywall work before setting the final handoff date. Confirm the primer, wall sheen, ceiling finish, and any touch-up procedure. For particularly visible surfaces, our Oakville Level 5 finishing guide provides additional context for that conversation.
What homeowners can prepare and what needs a finisher
Clearing portable belongings, labelling rooms on a sketch, and gathering paint information are useful homeowner tasks. Do not start sanding isolated high spots before the contractor has seen them. It can remove evidence of the underlying problem, expose tape, or create a low area that takes more work to repair.
A small closet can be a manageable learning project if expectations are modest and you have time to redo a joint. A long recreation-room ceiling is much less forgiving. Consider the time needed for repeated coats, awkward overhead work, and cleanup before deciding that a full basement is a good first taping job.
Where surfaces show active dampness, soft board, staining, or recurring movement, pause the finishing decision and obtain the appropriate assessment. A higher finish level is not a repair for moisture or structural problems. Unknown older materials also need suitable advice before disturbance. The finishing plan should begin with a sound, appropriate surface.
Approve the Oakville basement finish with a clear checklist
Compare a base quote and an upgrade fairly
When reviewing two proposals, ask each contractor to identify the same main ceiling and the same visible walls. One may include broad skim coating while the other includes joint treatment only. Also compare whether primer, a review after primer, and correction visits are included. The difference in price can reflect real work rather than a difference in the contractor's hourly rate.
If the budget requires a choice, ask what changes when the upgrade is limited to selected surfaces. Keep the remaining surfaces at a clearly defined standard rather than deleting preparation indiscriminately. For example, choosing not to skim an enclosed closet is different from omitting primer throughout the basement. Write the chosen option into the final scope so the crew and painter work from the same decision.
Before work starts, keep one written record of the included rooms, ceiling and bulkhead areas, finish level for each surface, primer and paint responsibilities, protection, and cleanup. Add the planned lighting and any sample you accepted. These details prevent small differences in wording from becoming large differences in expectations.
At the final review, stand where the room will normally be used and check the main sightlines, corners, and ceiling transitions. Identify corrections together and agree on when they will be completed. Keep the coating details for future maintenance, and avoid moving furniture against new finishes until the relevant products are ready for use.
For help deciding the right scope, send EPF photos for an Oakville basement taping and mudding quote. Include room sizes, lighting, paint choices, and the current board condition so we can price a finish that suits the room rather than an undefined promise of smooth walls.
FAQ
Can I choose Level 5 for my basement ceiling and Level 4 for the walls?
Yes, a mixed finish can be discussed when the lighting and planned decoration support it. List each surface and its finish separately. A ceiling-only upgrade is measured on that ceiling, with preparation, minimum charges, primer and paint confirmed in the quote.
Does a basement taping quote include smooth ceilings and bulkheads in Oakville?
Only if they are included in the written scope. List the main ceiling, bulkhead faces, undersides, and returns separately, and identify any surfaces that need a full skim coat. The cost should distinguish standard finishing from the chosen upgrade.
What is the 2026 cost range for basement taping and mudding in Oakville?
For EPF’s preliminary budgeting, allow CAD $1.75–$3.50 per sq. ft. of actual wall and ceiling surface for standard Level 4 finishing on ready board. Level 5 skim coating adds roughly $0.75–$1.50 per sq. ft. of treated surface. These EPF planning allowances are before HST, minimum charges, corrections, primer, paint, and project-specific extras; EPF confirms the price in a written quote.
Does an Oakville basement need Level 5 drywall finishing?
Not automatically. The decision depends on lighting, paint sheen, surface condition, and the appearance expected. Discuss demanding walls or ceilings separately instead of assuming every basement surface needs a full skim coat.
Can Level 5 hide uneven basement framing?
A whole-surface skim coat does not straighten a poorly aligned wall or stabilize moving board. Installation problems need assessment and suitable corrections before final finishing.
Should I choose paint before hiring a drywall taper?
Sharing the planned colour, sheen, and lighting helps the contractor recommend a suitable finish. If those choices change, discuss the change before the final finishing inspection.
Is primer included in an Oakville taping quote?
It depends on the written scope. Confirm primer, painting, cleanup, and responsibility for corrections discovered after priming before you compare quotes.
What photos help assess a bright basement wall?
Send a wide room view, the full wall, its joints, and photos showing daylight along the surface. Include ceiling details and planned lighting locations rather than only close-up defect pictures.
Drywall service pages and guides
Plan the Right Drywall Service Next
Oakville drywall installation and finishing
Plan the local scope from board preparation through the agreed finishing handoff.
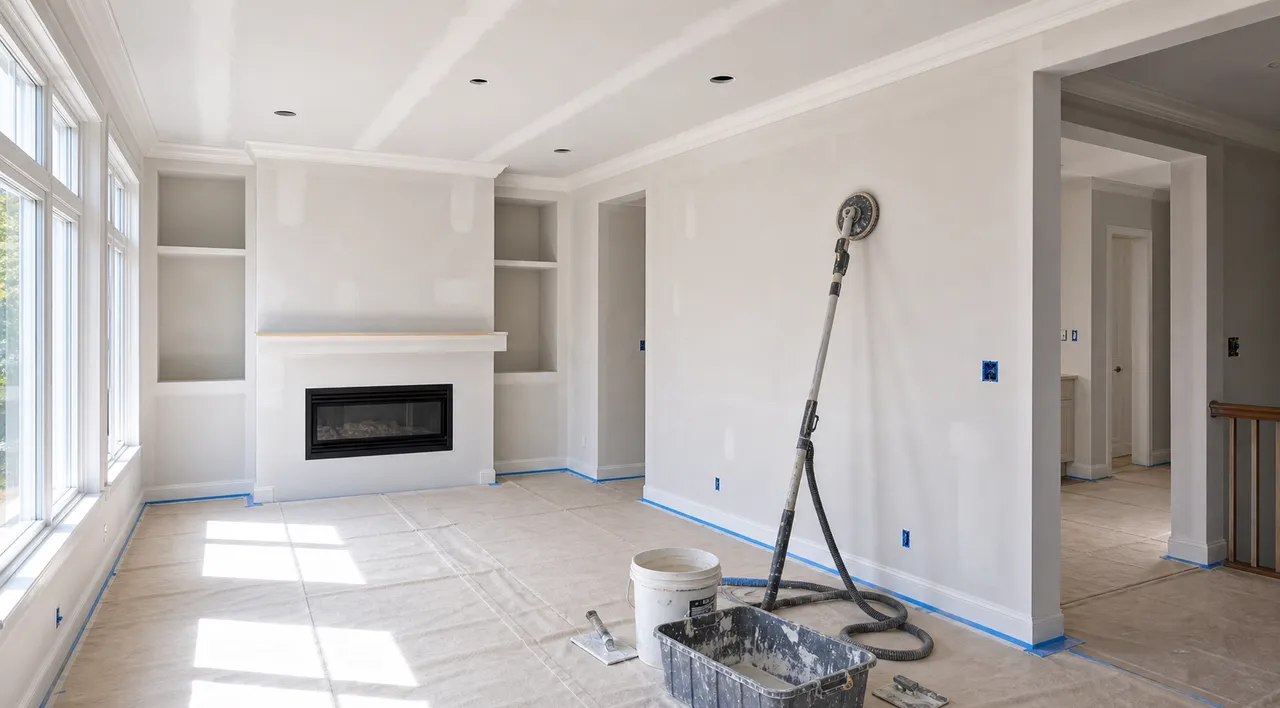
When Level 5 finishing is worth considering
Match a more demanding finish to the room's lighting and decorating plan.
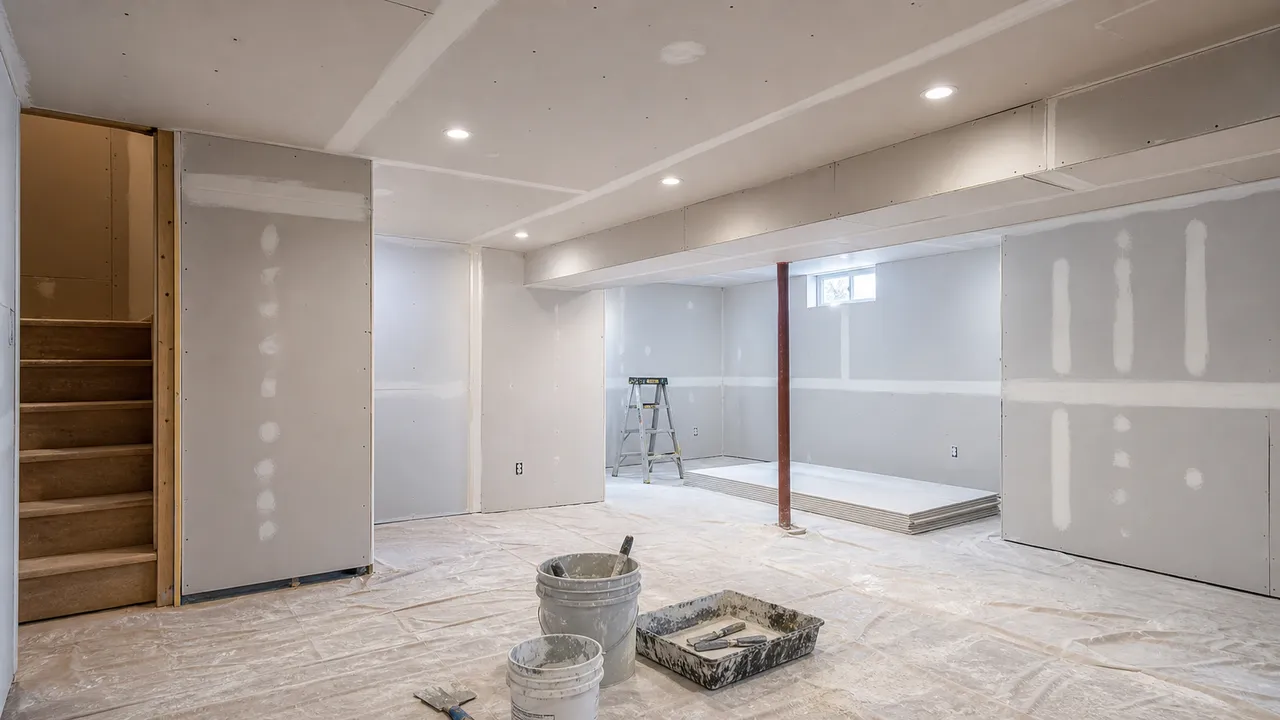
Plan the basement before taping starts
Review installation decisions that affect the finishing stage.
Field Photos
What the Work Can Look Like
Article Review
AuthorEPF Pro Services
Reviewed byEPF Pro Services
UpdatedSeptember 11, 2026
Plan your drywall scope
Get a drywall quote today
Share photos, room sizes, and timing. We reply the same day with Oakville drywall availability and a clearer written scope.
Quick next step